Zirkus Milk Pitcher
Milk Pitchers for Better Steaming and Latte Art Control
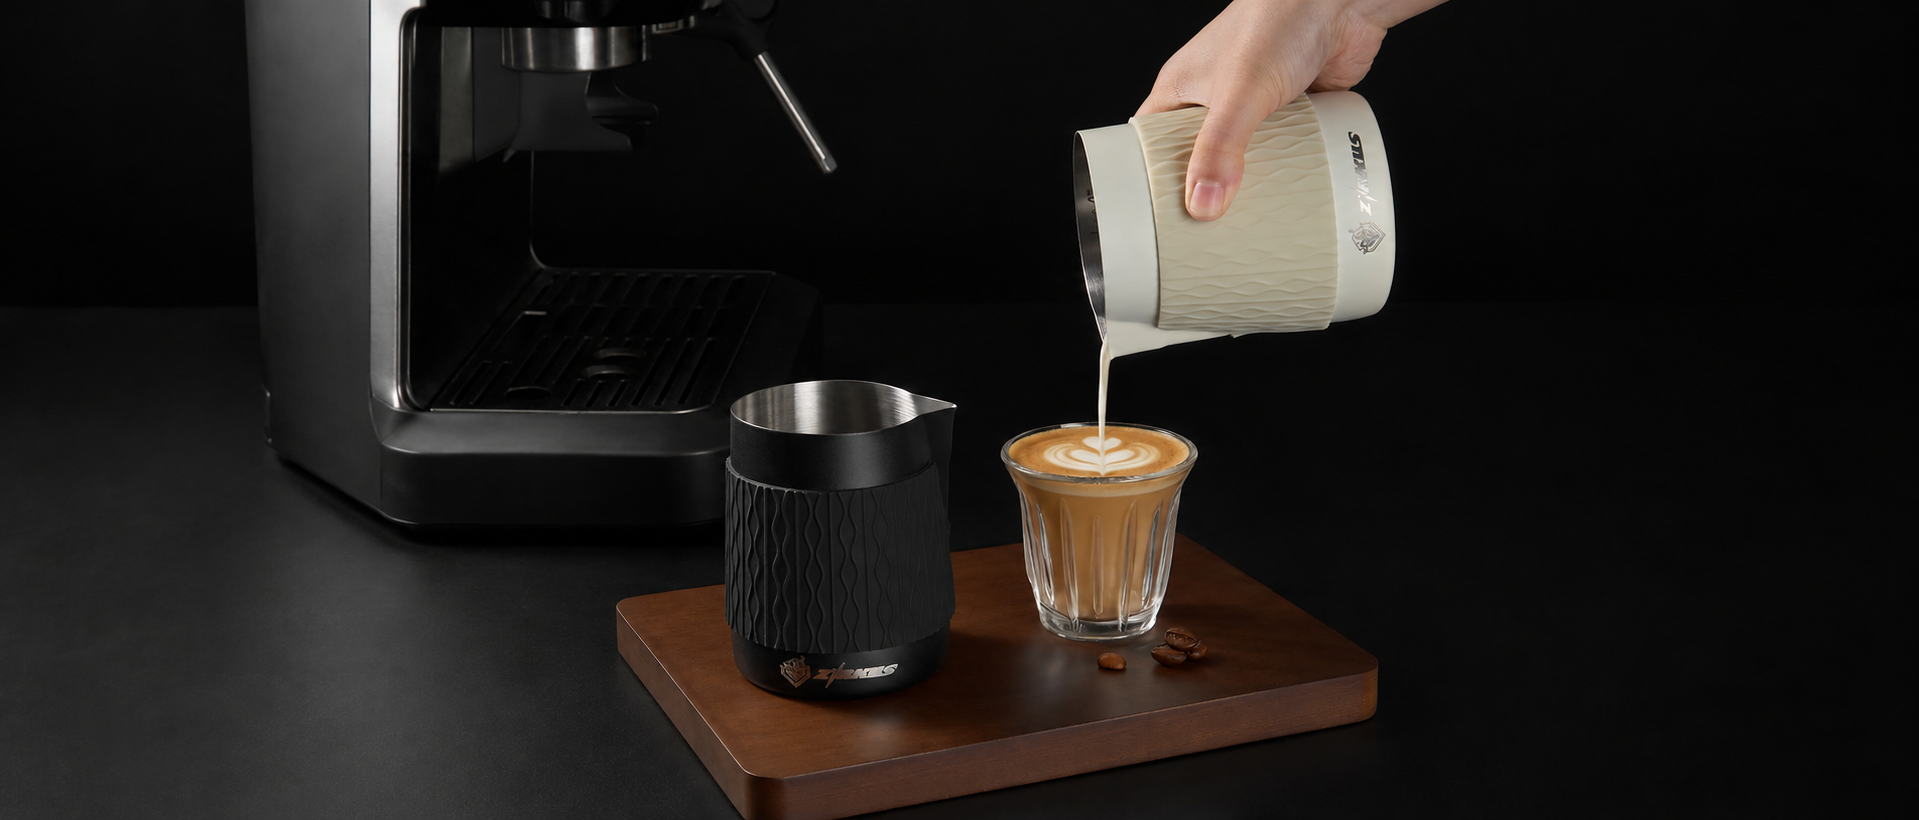
Create smoother microfoam and pour with more control using ZIRKUS milk pitchers designed for steaming, frothing and everyday latte art. Explore three distinct styles, including two handled pitchers for a familiar, balanced grip and one handleless pitcher with a textured sleeve for closer hand control.
Choose black, white, rainbow or stainless steel finishes on selected handled models, or black and white for the handleless design. Compare the shape, grip and pouring style to find the milk pitcher that fits your espresso setup—and make every latte, cappuccino and flat white feel more refined.
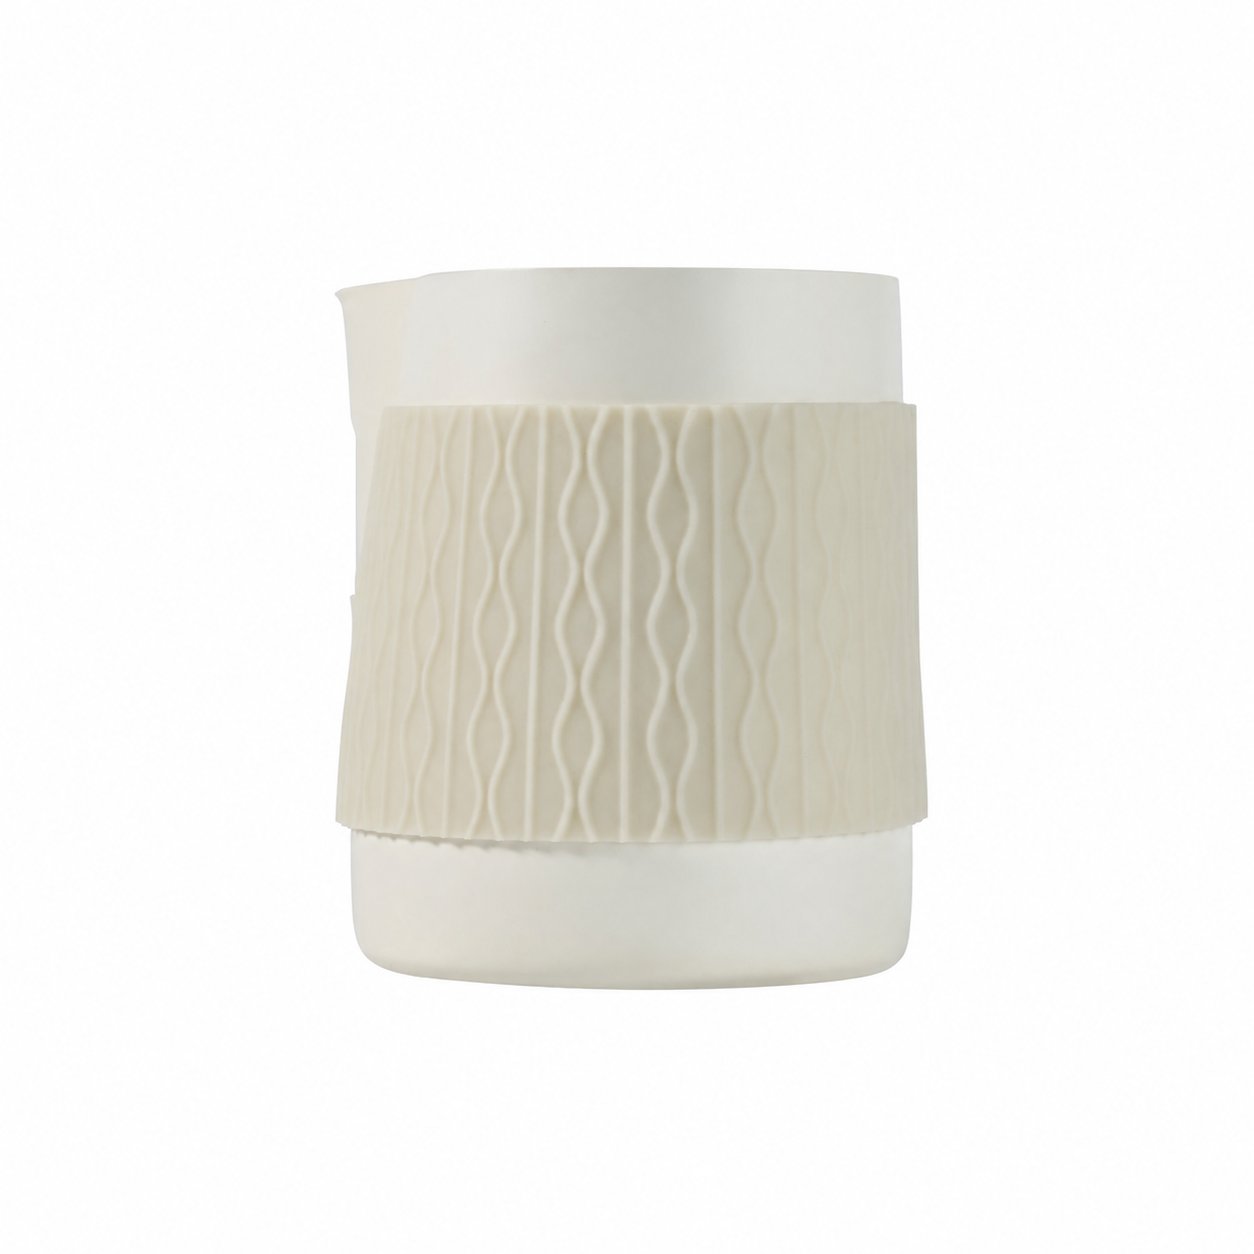
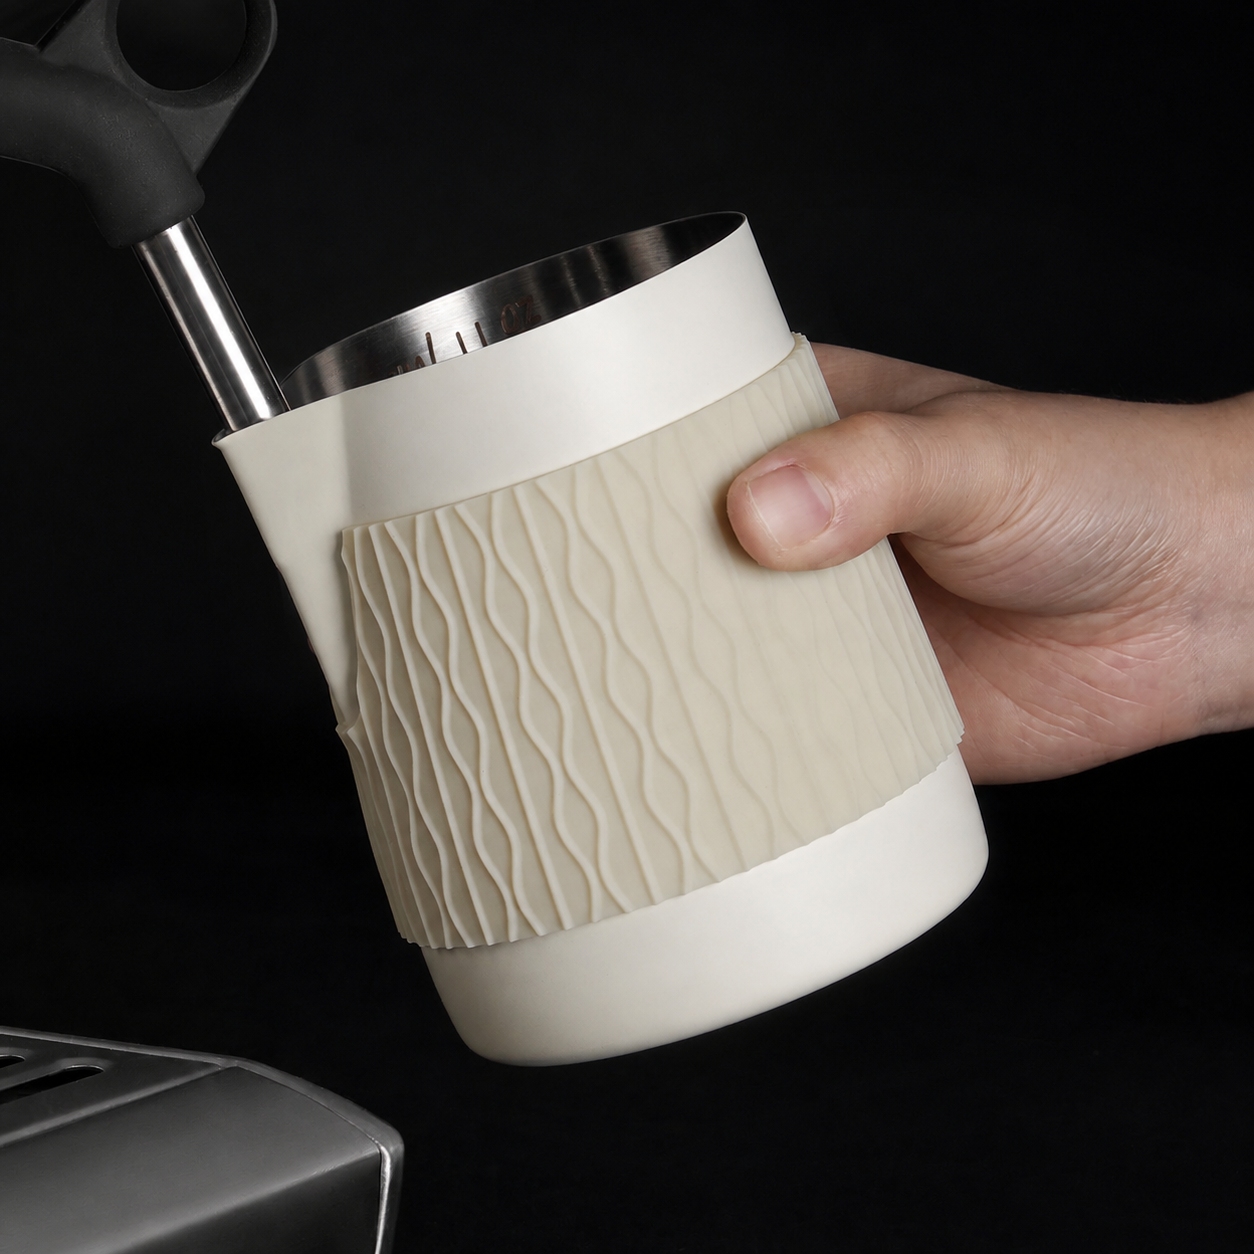
Zirkus V3 Handleless 304 Stainless Steel Milk Frothing Pitcher – 400ml

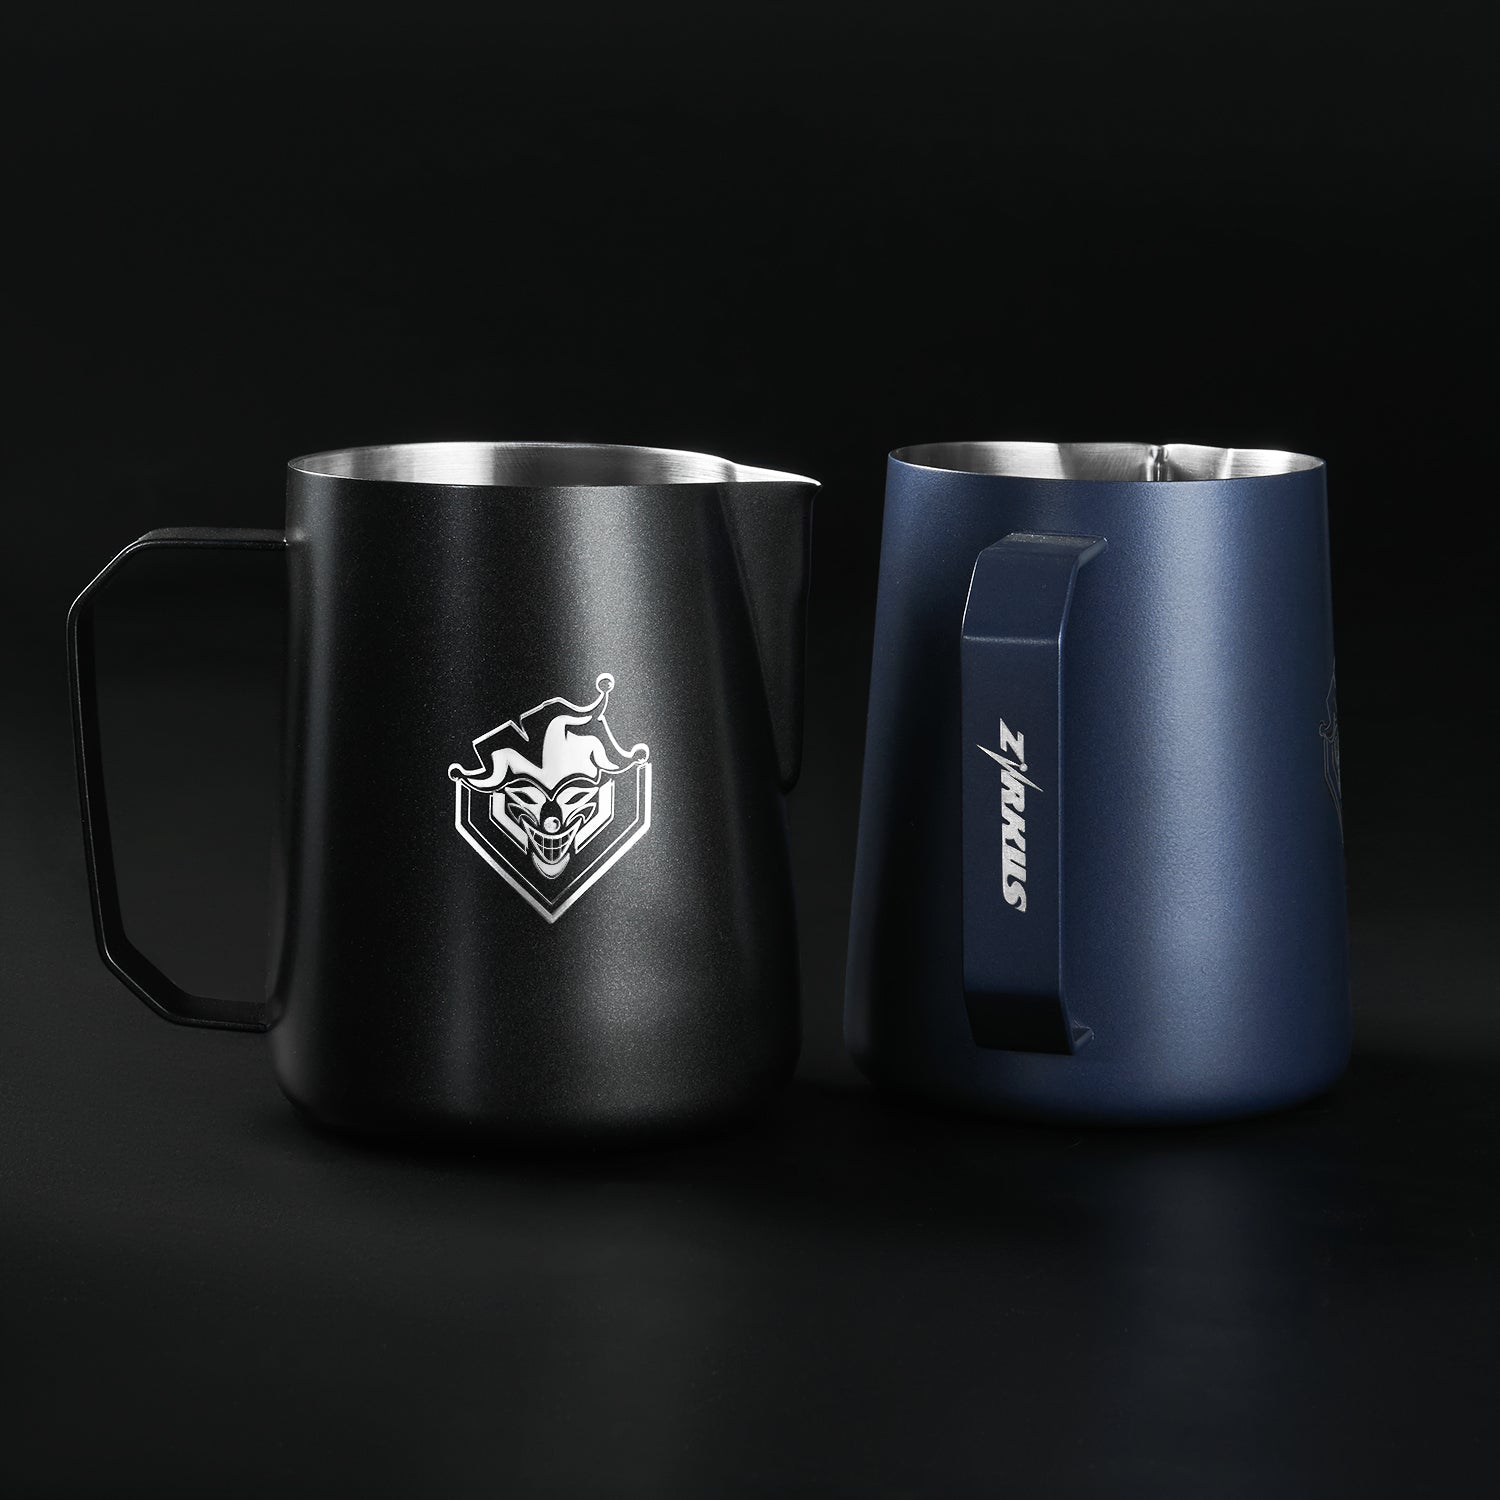
Zirkus V2 Precision-Pour Milk Frothing Pitcher – 350/450/600ml
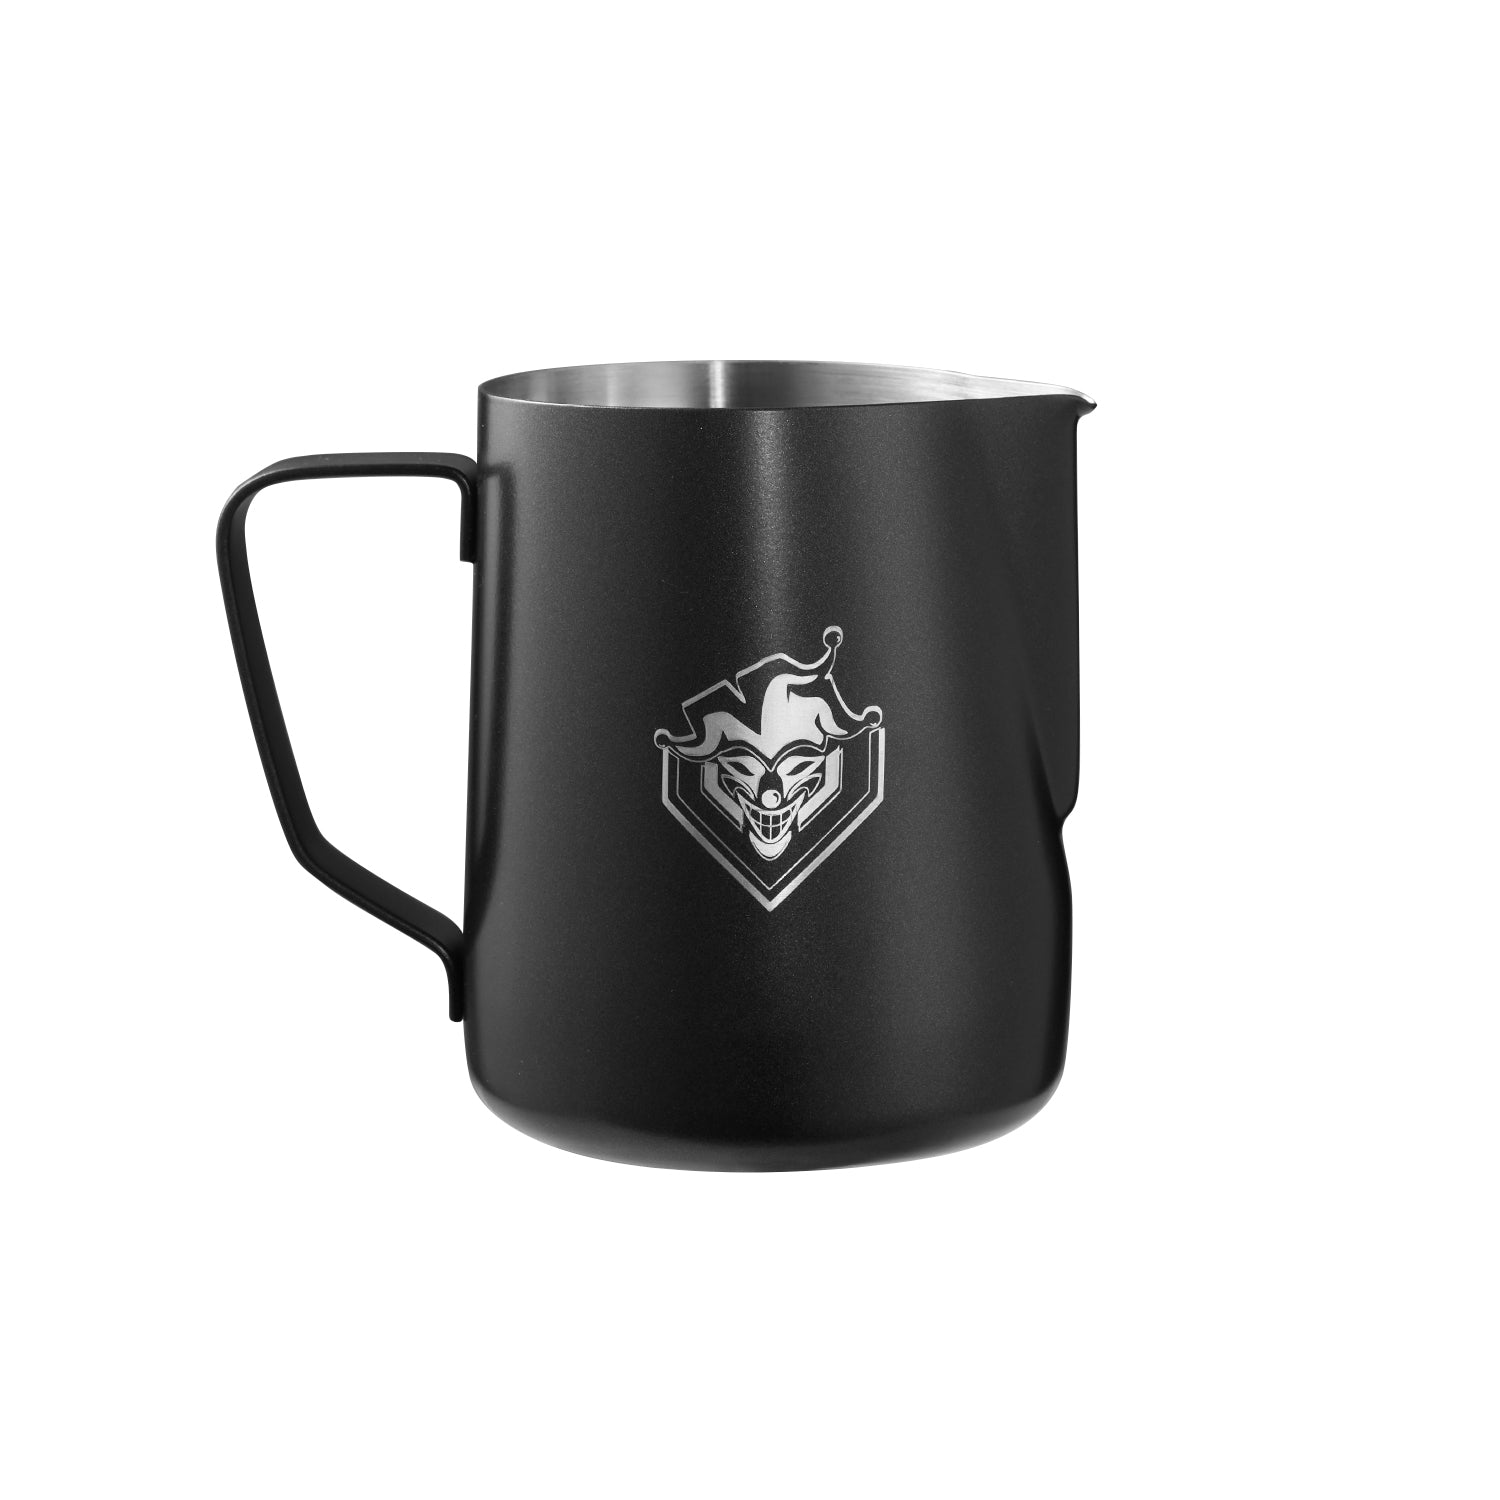
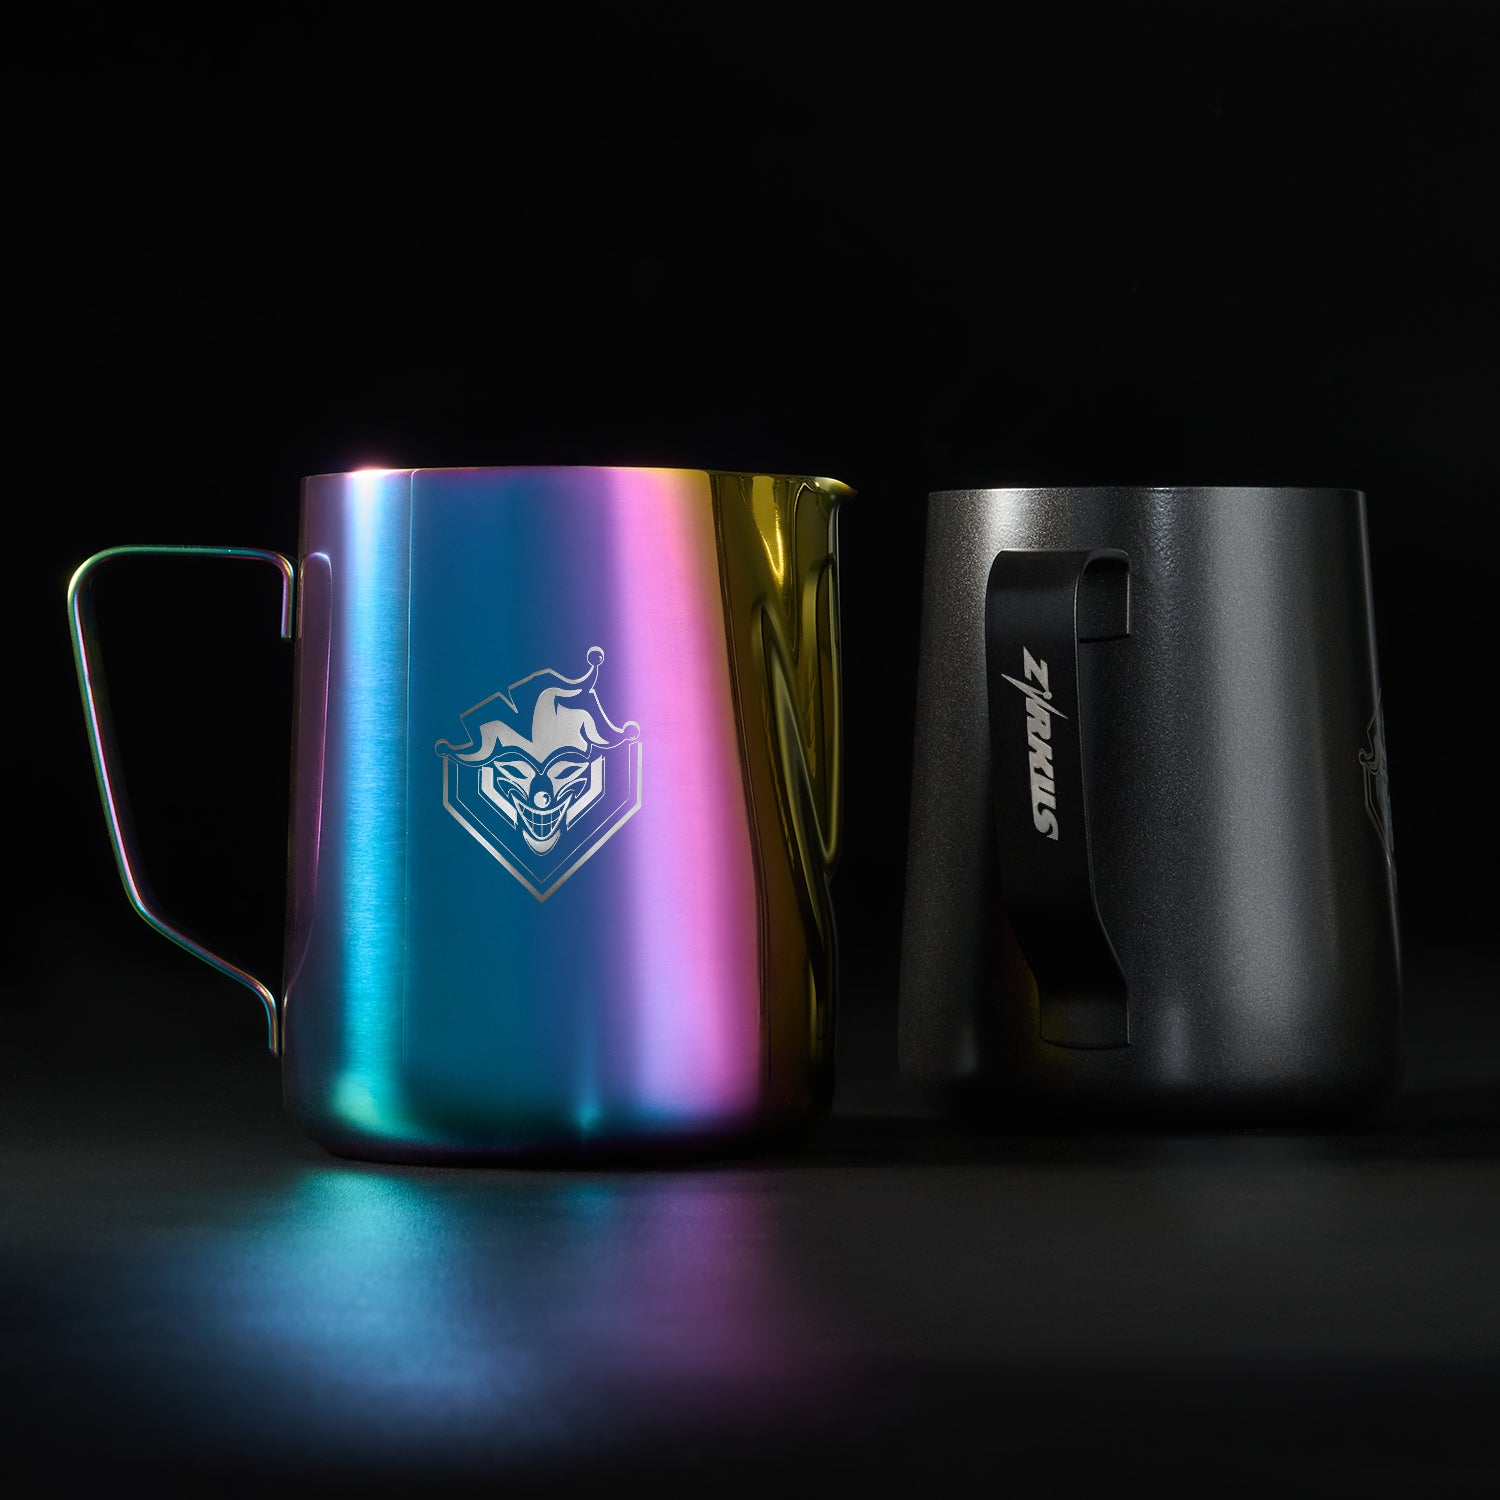
Zirkus V1 Milk Frothing & Latte Art Pitcher – 350/450/600ml
Choose the Right Milk Pitcher
| Feature | V1 Milk Pitcher | V2 Milk Pitcher | V3 Handleless Milk Pitcher |
|---|---|---|---|
| Handle Style | Rounded handle with smoother curves | Angular handle with a more structured, squared shape | Handleless design with a removable silicone sleeve |
| Available Capacities | 350ml / 450ml / 600ml | 350ml / 450ml / 600ml | 400ml |
| Available Colors | Black / White / Rainbow / Stainless Steel | Black / White / Blue / Rainbow / Stainless Steel | Black / White |
| Grip Experience | Familiar handled grip with a smooth and comfortable feel | Firm handled grip with a more defined angular shape | Close hand control with a textured, non-slip silicone sleeve |
| Heat Protection | Handle keeps the hand away from the heated pitcher body | Handle keeps the hand away from the heated pitcher body | Silicone sleeve provides added grip and heat protection |
| Best For | Users who prefer a classic, rounded handle and multiple capacity options | Users who prefer a more angular handle and a wider color selection | Users who prefer handleless pouring and closer control during latte art |
| Main Difference | Smooth, rounded handle design | Structured, angular handle design | Handleless body with an anti-slip silicone grip |
How to Steam Milk with a Pitcher
Proper steaming creates smooth, glossy microfoam that blends easily with espresso and gives you better control when pouring latte art.
- Add cold milk
Fill the pitcher to around one-third of its capacity, leaving enough room for the milk to expand. - Purge the steam wand
Briefly release steam before placing the wand into the milk to clear away condensation. - Position the steam tip
Place the tip just below the milk surface and slightly off-center to help create a circular movement. - Introduce a small amount of air
Keep the tip close to the surface during the first few seconds. A soft, controlled sound indicates that air is being added without creating large bubbles. - Create a whirlpool
Lower the steam tip slightly and angle the pitcher so the milk rotates smoothly. This helps break down larger bubbles and creates a finer texture. - Stop before the milk overheats
Finish steaming when the pitcher becomes hot but still manageable to hold. Avoid overheating, which can reduce sweetness and create a dry foam texture. - Tap and swirl the pitcher
Gently tap the base on the counter to remove any visible bubbles, then swirl until the milk looks smooth, glossy and similar to wet paint. - Pour immediately
Pour the steamed milk into the espresso before the foam begins to separate.
For the V3 handleless pitcher, hold the textured silicone sleeve securely during steaming and pouring to improve grip and help protect your hand from the heated pitcher body.
How to Pour Latte Art
Good latte art starts with well-textured milk, a steady pouring hand and controlled movement from the pitcher.
- Prepare the espresso base
Brew a fresh espresso shot with an even crema surface, then gently swirl the cup to keep the crema uniform. - Swirl the steamed milk
Rotate the pitcher until the milk looks glossy and fully blended, with no visible separation between liquid milk and foam. - Begin with a higher pour
Hold the pitcher slightly above the cup and pour a thin stream into the center. This allows the milk to mix beneath the crema. - Tilt the cup toward the pitcher
As the cup begins to fill, tilt it slightly to bring the milk surface closer to the pitcher spout. - Lower the pitcher
Move the spout close to the surface and increase the flow slightly. The white microfoam should begin appearing on top of the coffee. - Create the pattern
Keep the pour steady for a heart, gently move the pitcher from side to side for a rosetta, or use controlled pushes to build a tulip. - Finish with a cut-through
Raise the pitcher slightly and pour a thin stream through the center of the pattern to complete the design. - Practice flow and distance
Small adjustments in pouring height, speed and spout position will change the shape of the pattern. Focus on smooth, repeatable movements rather than pouring too quickly.
For the V1 and V2 handled pitchers, use the handle shape that feels most natural for your wrist position. For the V3 handleless pitcher, hold the silicone sleeve securely for closer control during detailed pours.
FAQS
Which milk pitcher sizes are available?
The V1 and V2 milk pitchers are available in 350ml, 450ml and 600ml capacities. The V3 handleless milk pitcher is available in 400ml.
Which milk pitcher size should I choose?
A 350ml or 400ml pitcher is suitable for smaller milk drinks and single-cup preparation. A 450ml pitcher offers more room for everyday lattes and cappuccinos, while a 600ml pitcher is better for larger drinks or preparing more milk at one time.
What is the silicone sleeve on the V3 used for?
The silicone sleeve provides a more secure, non-slip grip and helps reduce direct contact with the heated metal body during steaming and pouring.
Can these milk pitchers be used for both steaming and latte art?
Yes. All three styles are designed for steaming and frothing milk, as well as controlled pouring for lattes, cappuccinos, flat whites and other milk-based coffee drinks.
How much milk should I add before steaming?
Start by filling the pitcher to around one-third of its capacity. This leaves enough space for the milk to expand and circulate while steaming.
How should I clean the milk pitcher?
Rinse the pitcher soon after use to prevent milk residue from drying on the surface. Wash it with warm water and mild detergent, then dry it thoroughly. Remove and clean the V3 silicone sleeve separately when necessary.
Blog posts
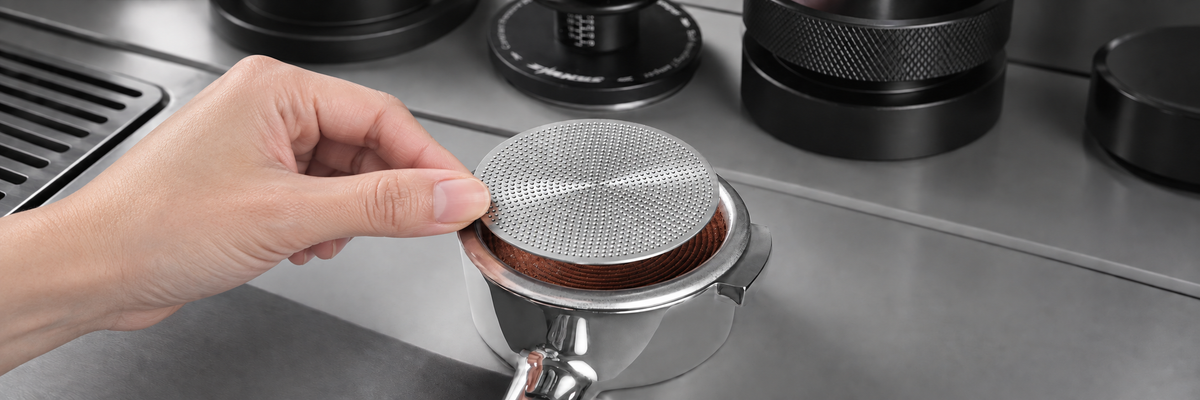
Espresso Puck Screen Guide: Size, Thickness and Benefits
An espresso puck screen is a simple accessory placed on top of the tamped coffee before brewing. It can improve water distribution, reduce puck erosion and keep your espresso machine’s group head c...
Read more
What size portafilter is Breville Barista Express?
The Breville Barista Express BES870 uses a 54 mm portafilter rather than the common commercial 58 mm size. This guide explains how to verify the size, compare basket types, and choose a compatible ...
Read more
Is a Bottomless Portafilter Better?
A bottomless portafilter provides a clear view of espresso extraction, making it easier to identify channeling and improve puck preparation. However, it does not automatically produce better-tastin...
Read moreJoin us
@zirkuscoffee