

What Is a WDT Tool? Beginner’s Guide to Using a WDT Tool for Espresso
If you’ve ever pulled an espresso shot that tastes bitter, sour, or wildly inconsistent no matter how you adjust your grind size, you’re not alone. Most home espresso beginners struggle with uneven coffee grounds clumping inside the portafilter, which causes channeling and ruined extraction.
This is exactly where a WDT tool comes in. Simple, affordable, and game-changing for anyone serious about better home espresso, the WDT distribution tool has become a must-have piece of gear for casual and dedicated home baristas alike.
In this beginner-friendly guide, we break down exactly what a WDT tool is, whether you need one, and the correct step-by-step way to use a WDT tool for cleaner, more balanced espresso shots.
What Is a WDT Tool?
WDT stands for Weiss Distribution Technique, named after barista John Weiss who popularized this simple ground distribution method.
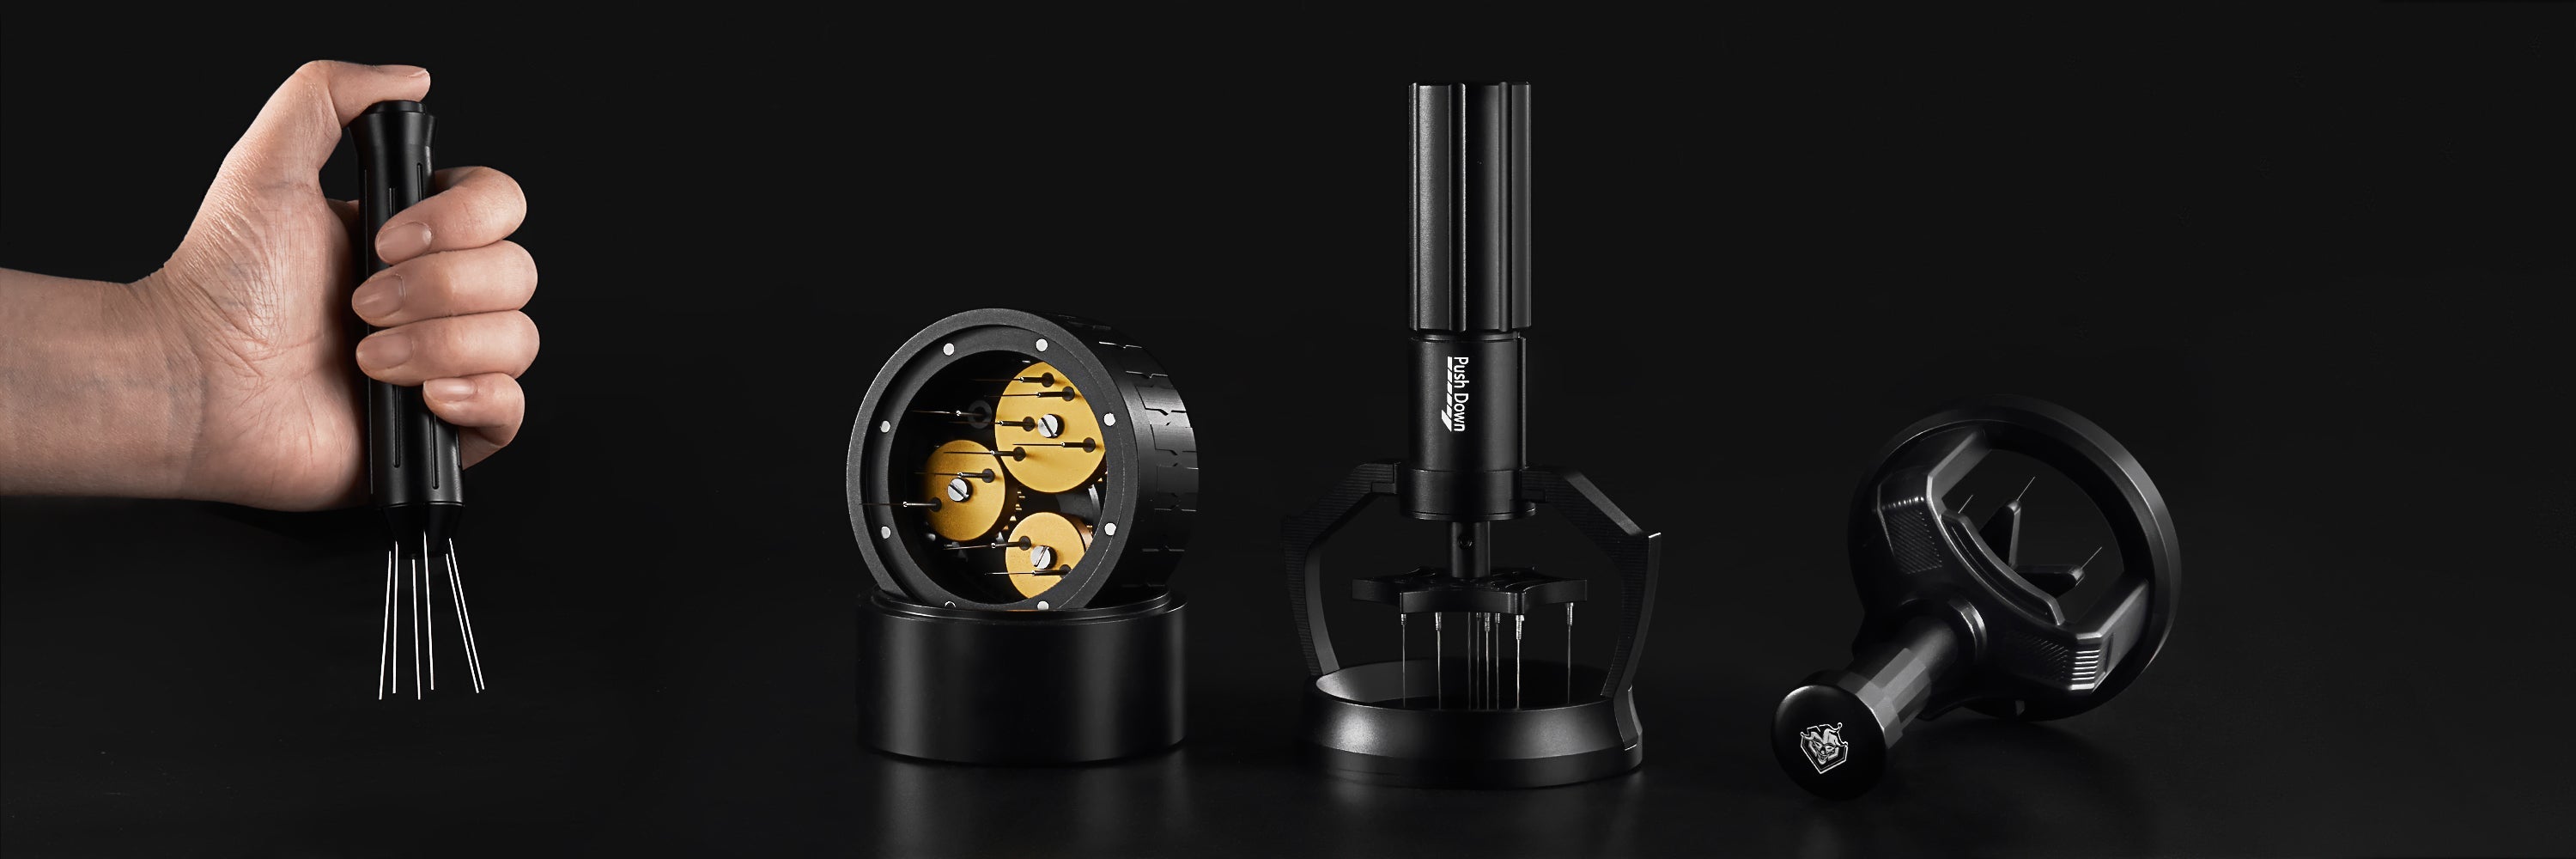
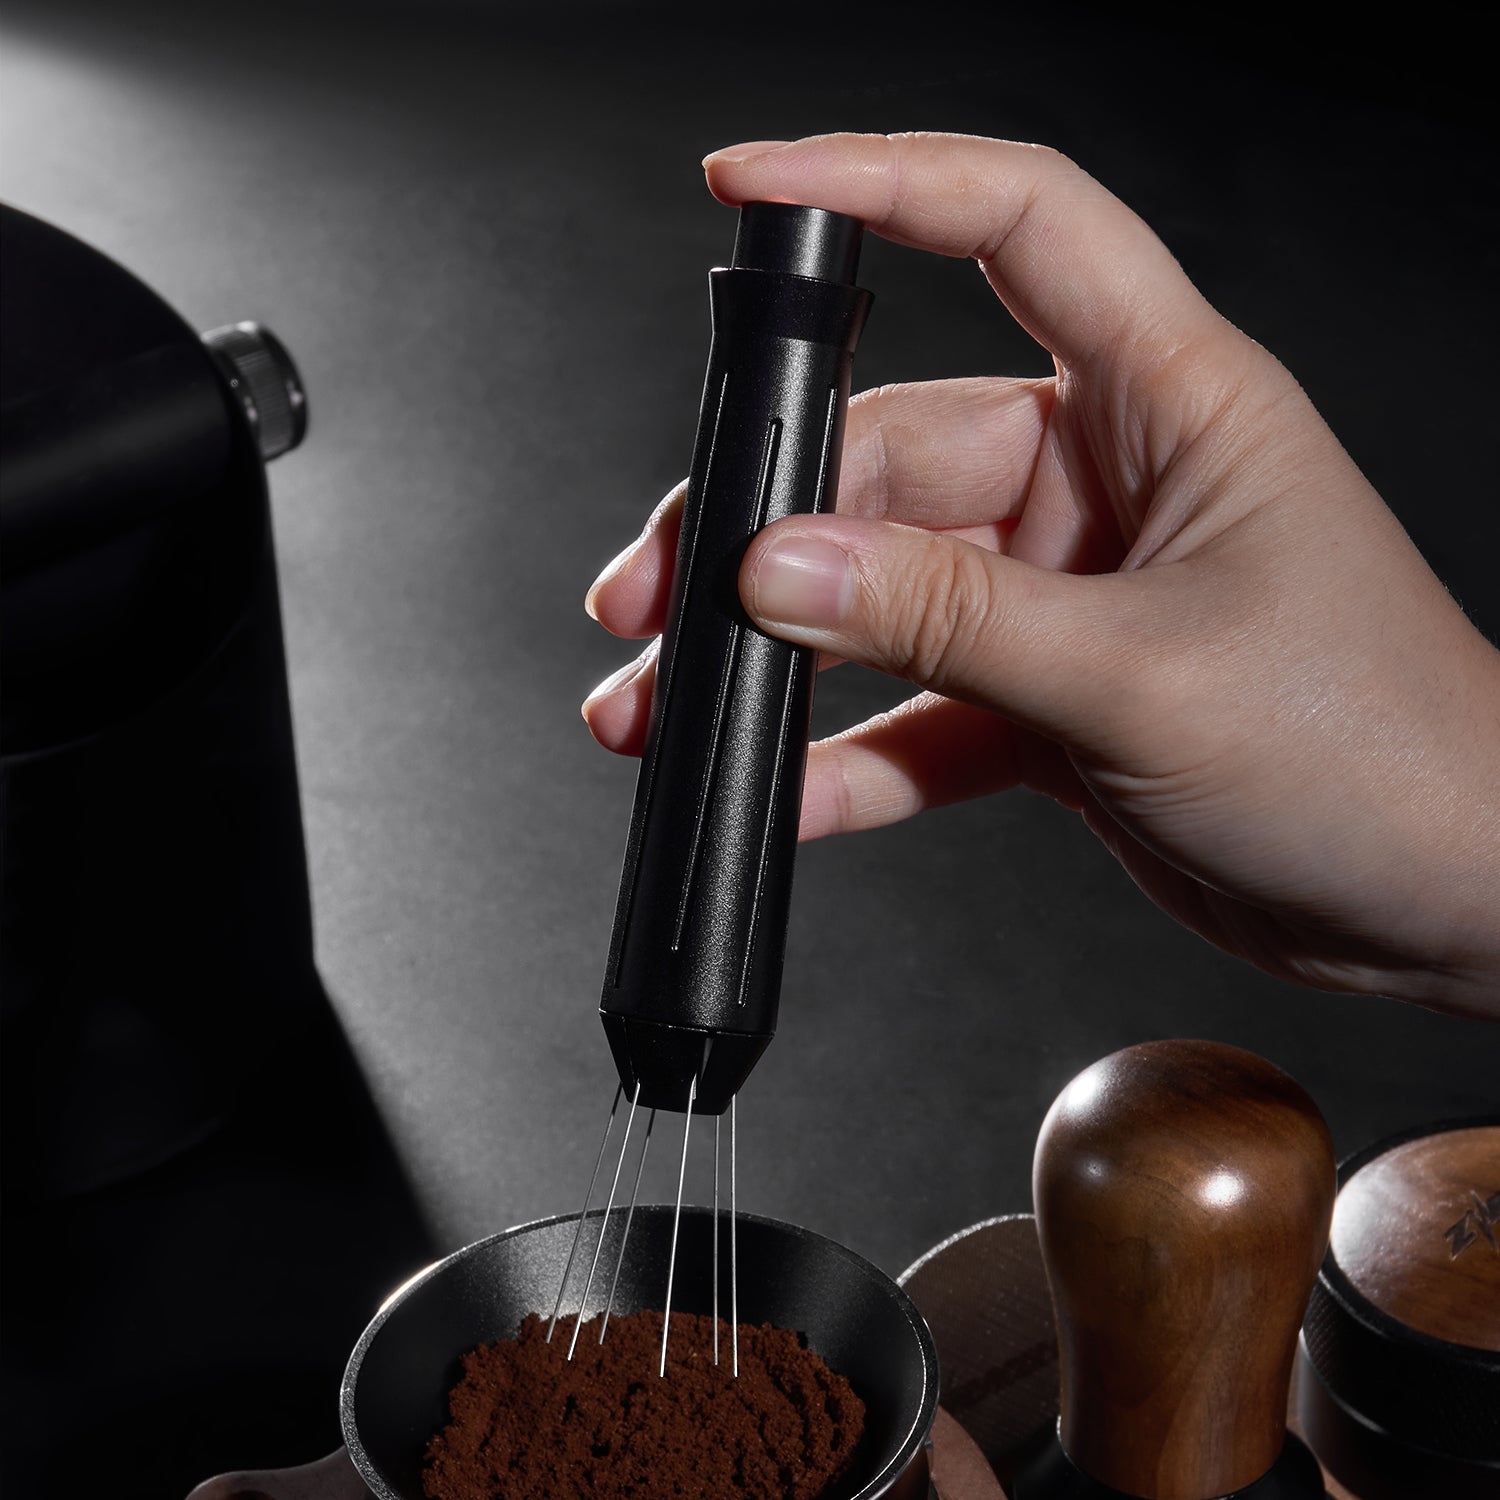
A WDT espresso tool is a small handheld accessory made of a comfortable handle paired with several fine stainless steel needles. Its core purpose is straightforward:
Break up coffee ground clumps and evenly distribute particles inside your portafilter before tamping.
Unlike expensive automated distribution tools, a coffee WDT tool focuses only on de-clumping and leveling grounds gently without compacting them prematurely. It fixes uneven density, eliminates random channeling, and creates a uniform puck for consistent extraction every time.
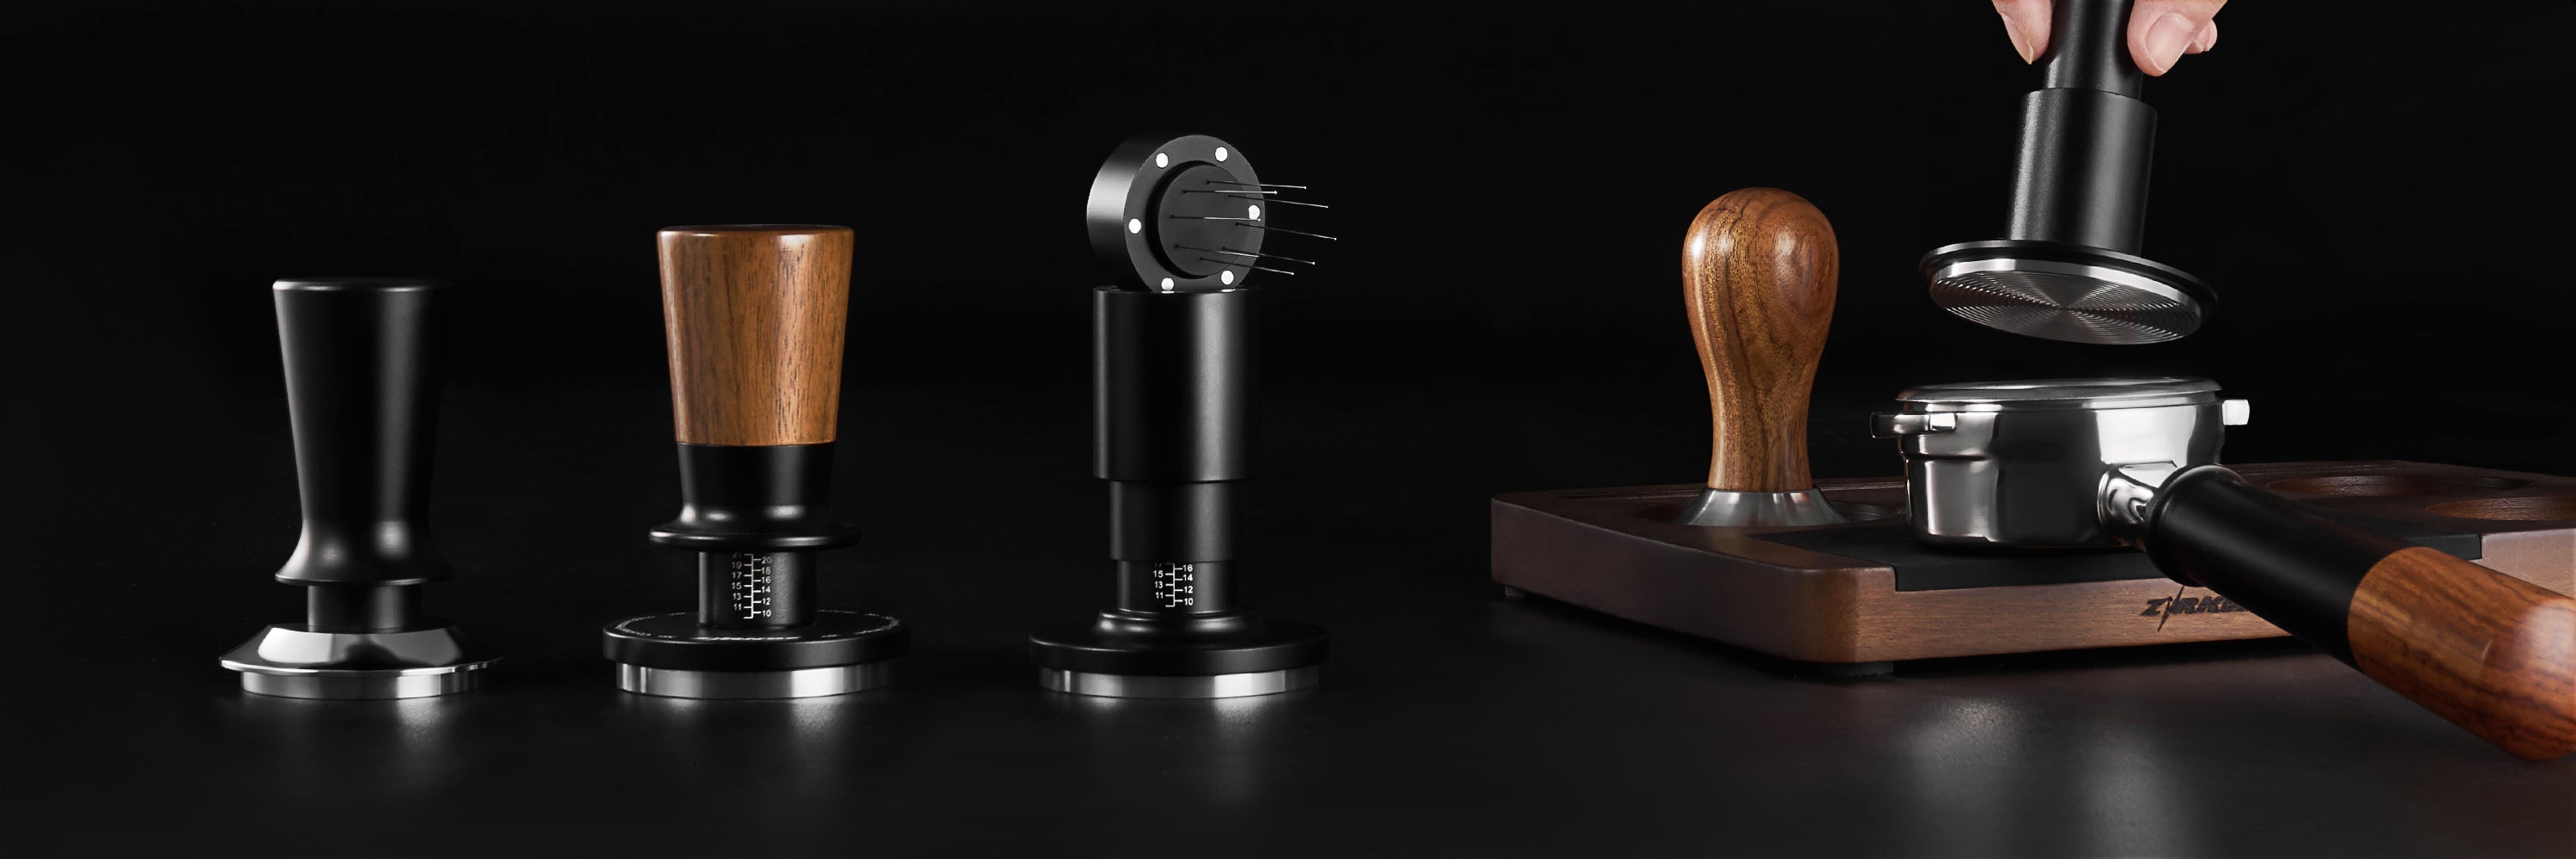
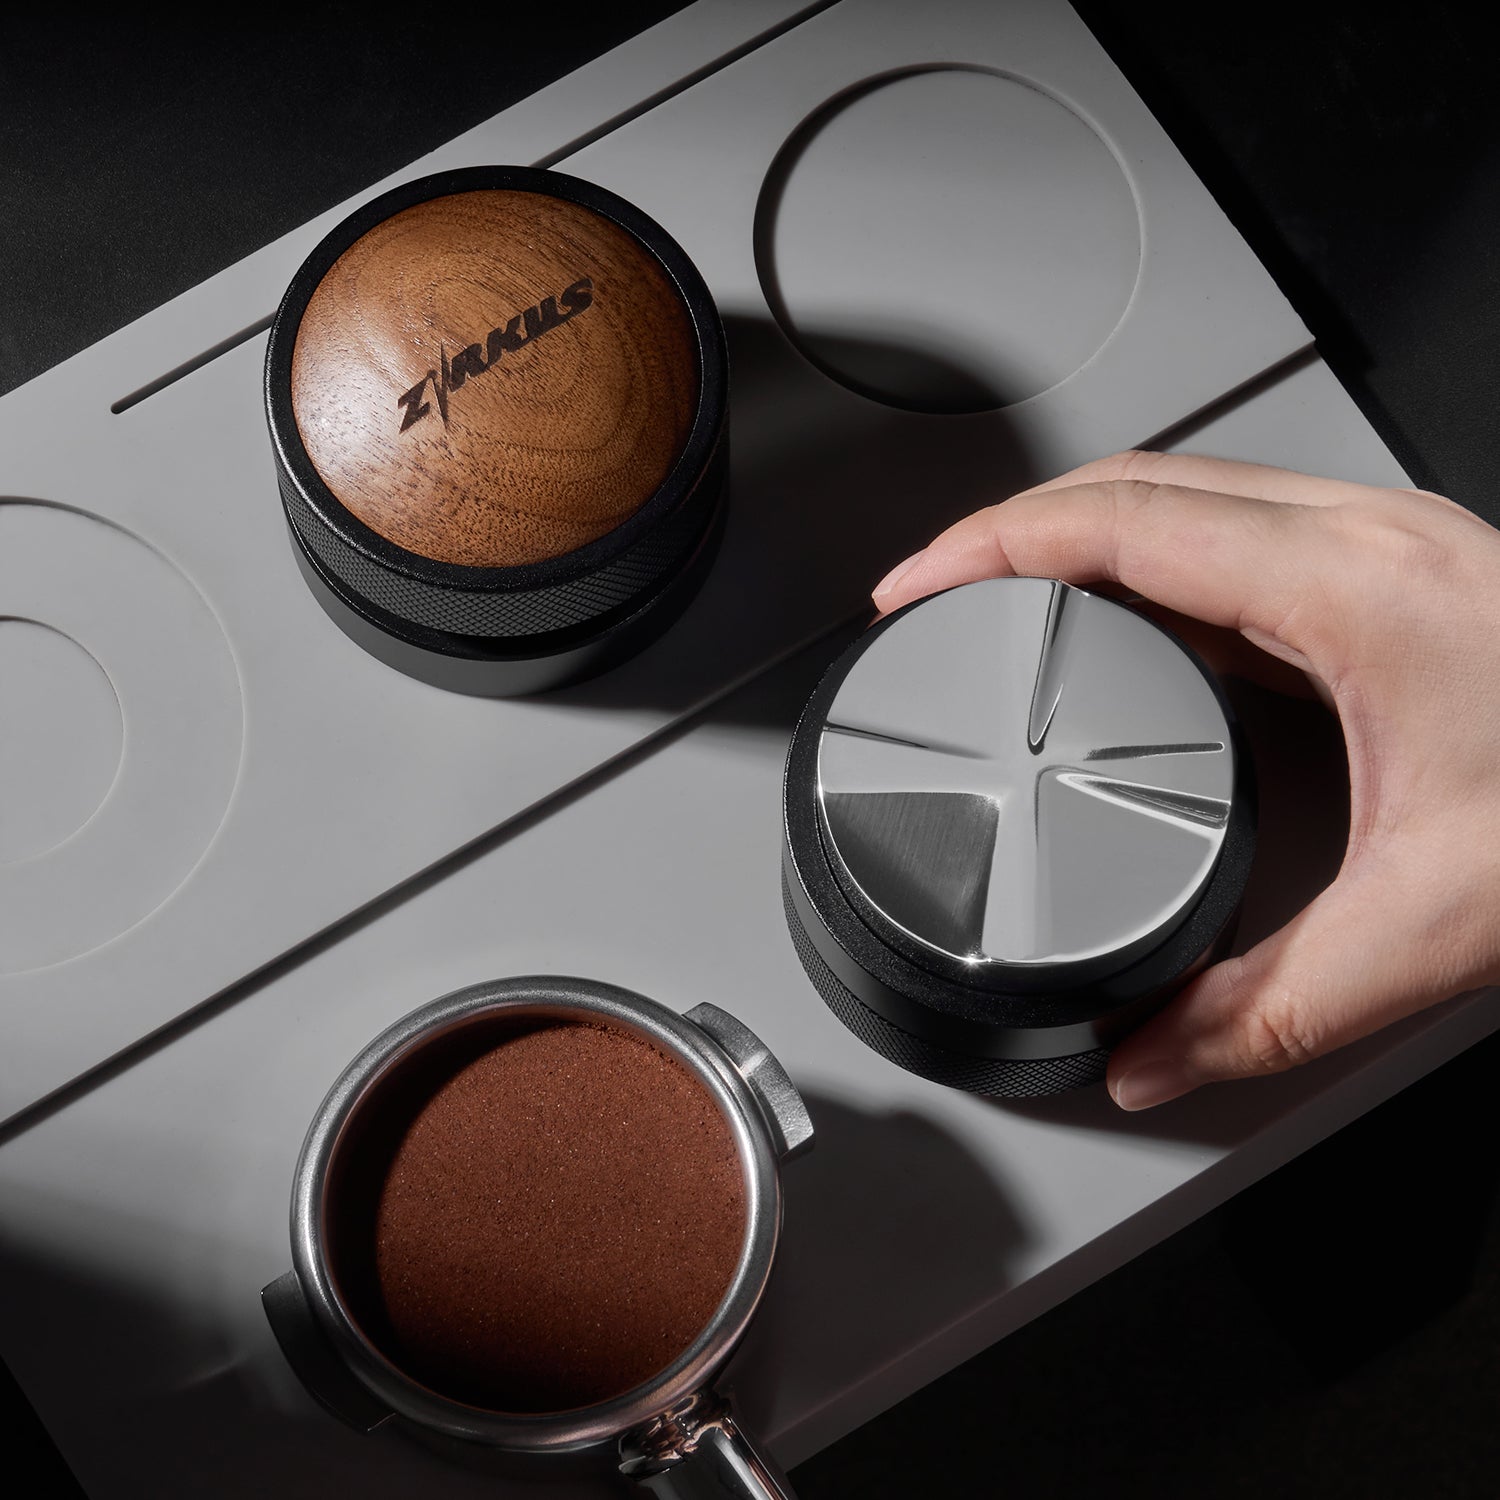
Types of WDT Tools: 3 Main Styles for Home Baristas
Not all espresso WDT tools are the same. There are three common types you’ll find on the market: classic manual stir WDT tool, manual rotating WDT tool, and electric rotating WDT tool. Each fits different budgets, skill levels, and daily brewing routines.
1. Classic Manual Stir WDT Tool
This is the original and most popular WDT distribution tool among beginners.
It features a simple handle with fixed fine stainless steel needles. You stir the coffee grounds manually in slow circles to break up clumps and even out the puck.

Pros
- Most affordable and durable
- Easy to control for new home baristas
- Compact, easy to clean and store
- No battery or charging required
Best for: Coffee beginners, daily home espresso users, and anyone who prefers a minimal coffee station setup.
2. Manual Rotating WDT Tool
The manual rotating WDT tool comes with a spinning needle head. Instead of moving your whole hand in circles, you simply press or twist the top lightly, letting the needles rotate automatically inside the portafilter.

Pros
- More effortless than traditional stirring
- More uniform rotation for even distribution
- Reduces messy flying grounds
- Still fully manual, no electricity needed
Best for: People who want consistent results with less hand movement and a smoother puck prep routine.
3. Electric Rotating WDT Tool
Electric coffee WDT tool kits are the upgraded premium version. Built with a rechargeable motor, the needle head rotates automatically at a steady speed once turned on. Some models come with adjustable speed and a charging base.

Pros
- Fully automatic stirring, zero manual effort
- Perfect consistent rotation every time
- Great for lazy mornings or high daily brewing volume
- Often comes as a complete electric WDT tool kit with accessories
Cons
- Higher price point
- Needs regular charging
- Slightly larger than manual versions
Best for: Espresso enthusiasts, heavy daily users, and anyone who loves a high-end automated coffee station.
|
Features |
Classic Manual Stir WDT Tool |
Manual Rotating WDT Tool |
Electric Rotating WDT Tool |
|
Core Feature |
Fixed needle design, pure hand-stirring |
Rotatable needle head (manual control) |
Rechargeable motor, automatic rotation |
|
How It Works |
Manually stir grounds in slow circles to break clumps |
Press or twist the top, needles spin automatically inside portafilter |
Turn on the device, needles rotate steadily by motor |
|
Pros |
Budget-friendly, durable, easy to clean, no power needed, full control for beginners |
Labor-saving, more even distribution, less ground splashing, no charging required |
Fully automatic, stable speed, effortless, premium experience, often comes as a complete kit |
|
Cons |
Requires basic manual stirring skill |
Slightly higher price than classic style |
Higher cost, needs regular charging, larger than manual versions |
|
Best For |
Coffee beginners, daily home baristas, minimalist coffee station setups |
Users wanting easier operation with consistent espresso extraction |
Espresso enthusiasts, heavy daily users, high-end home coffee setups |
Do You Need a WDT Tool for Espresso?
One of the most common questions from new home baristas is simple: Is a WDT tool necessary?
The short answer: If you want more consistent shots with better crema and balanced flavor, yes.
You don’t need a WDT tool to pull an espresso shot technically. You can grind, dose, tamp, and brew without it. But beginners constantly run into the same problems:
- Random bitter or sour shots day to day
- Thin, weak crema
- Visible channeling holes in the espresso puck
- Wasted expensive coffee beans from uneven extraction
A WDT tool solves all these minor but frustrating issues at a low cost. If you are only making casual coffee occasionally, you can skip it. If you care about repeatable cafe-quality espresso at home, a WDT distribution tool is absolutely worth adding to your setup.
How to Use a WDT Tool (Step-by-Step for Beginners)
Using an espresso WDT tool only takes 10 seconds once you learn the correct routine. Follow these simple steps every time:
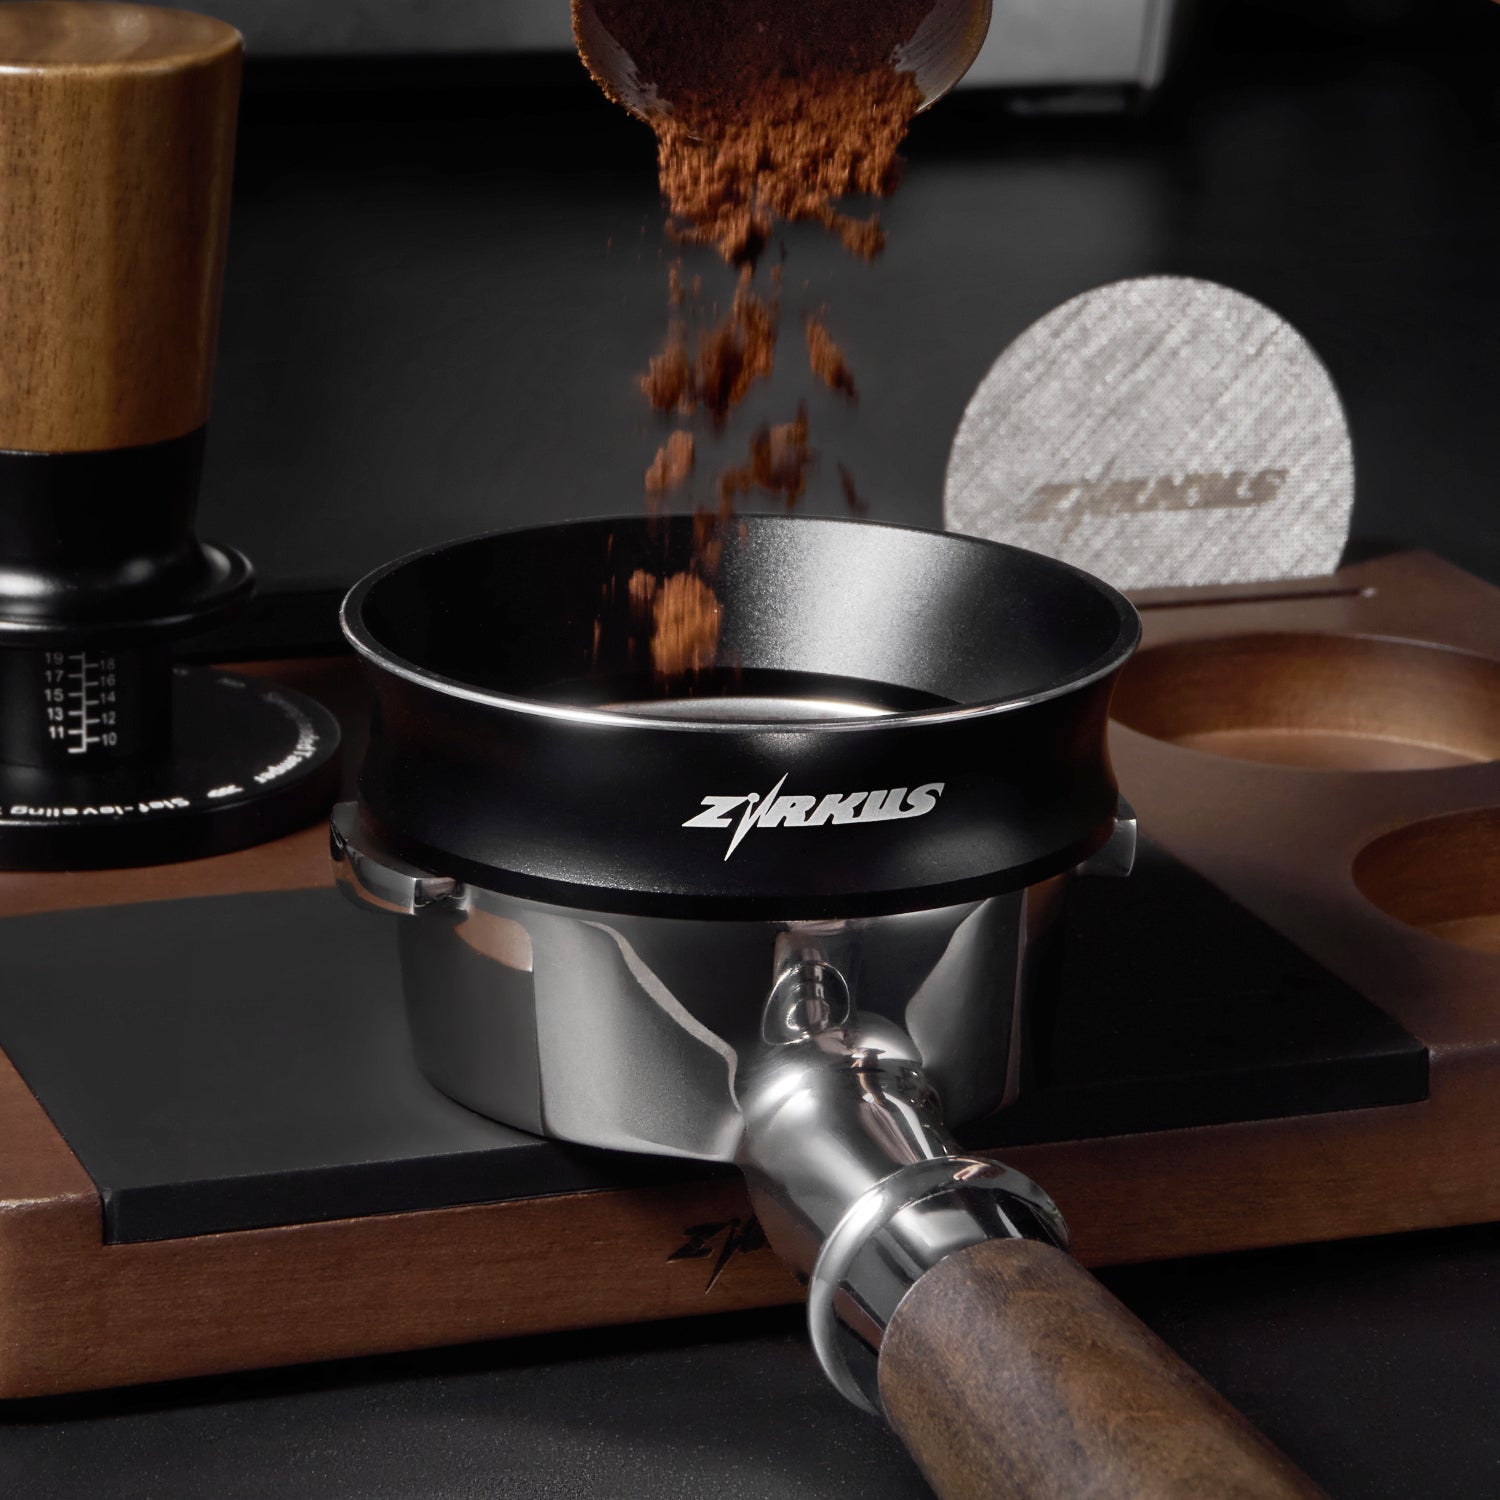
- Grind your fresh coffee directly into your portafilter basket.
- Hold the WDT tool lightly and insert the needles into the grounds around 5–10mm deep. Avoid touching the bottom of the basket.
- Use slow, gentle circular motions to stir and break up all visible clumps. Keep the movement relaxed, not aggressive.
- Once clumps are gone and grounds look evenly spread, stop stirring.
- Optional: Do a light surface level before tamping.
- Tamp normally and pull your espresso shot.
The biggest beginner mistake is pushing the needles too deep or stirring too fast, which creates unnecessary mess and messes up ground density. Slow and gentle always works best with a WDT coffee tool.
Key Benefits of Using a WDT Tool
- Far more consistent espresso shot flavor
- Reduces channeling drastically
- Thicker, richer crema on every pull
- Minimizes bitter or sour over-extracted spots
- Affordable upgrade compared to fancy puck prep tools
- Small size, easy to store on any coffee station
WDT Tool vs Other Puck Prep Tools
Many beginners wonder if they need both a distributor and a WDT tool.

A standard distribution tool levels the top layer but does not break deep clumps. A WDT tool works from within the grounds to fix density all the way through. For most home beginners, a quality WDT tool alone is enough to drastically improve shots without buying extra gear.
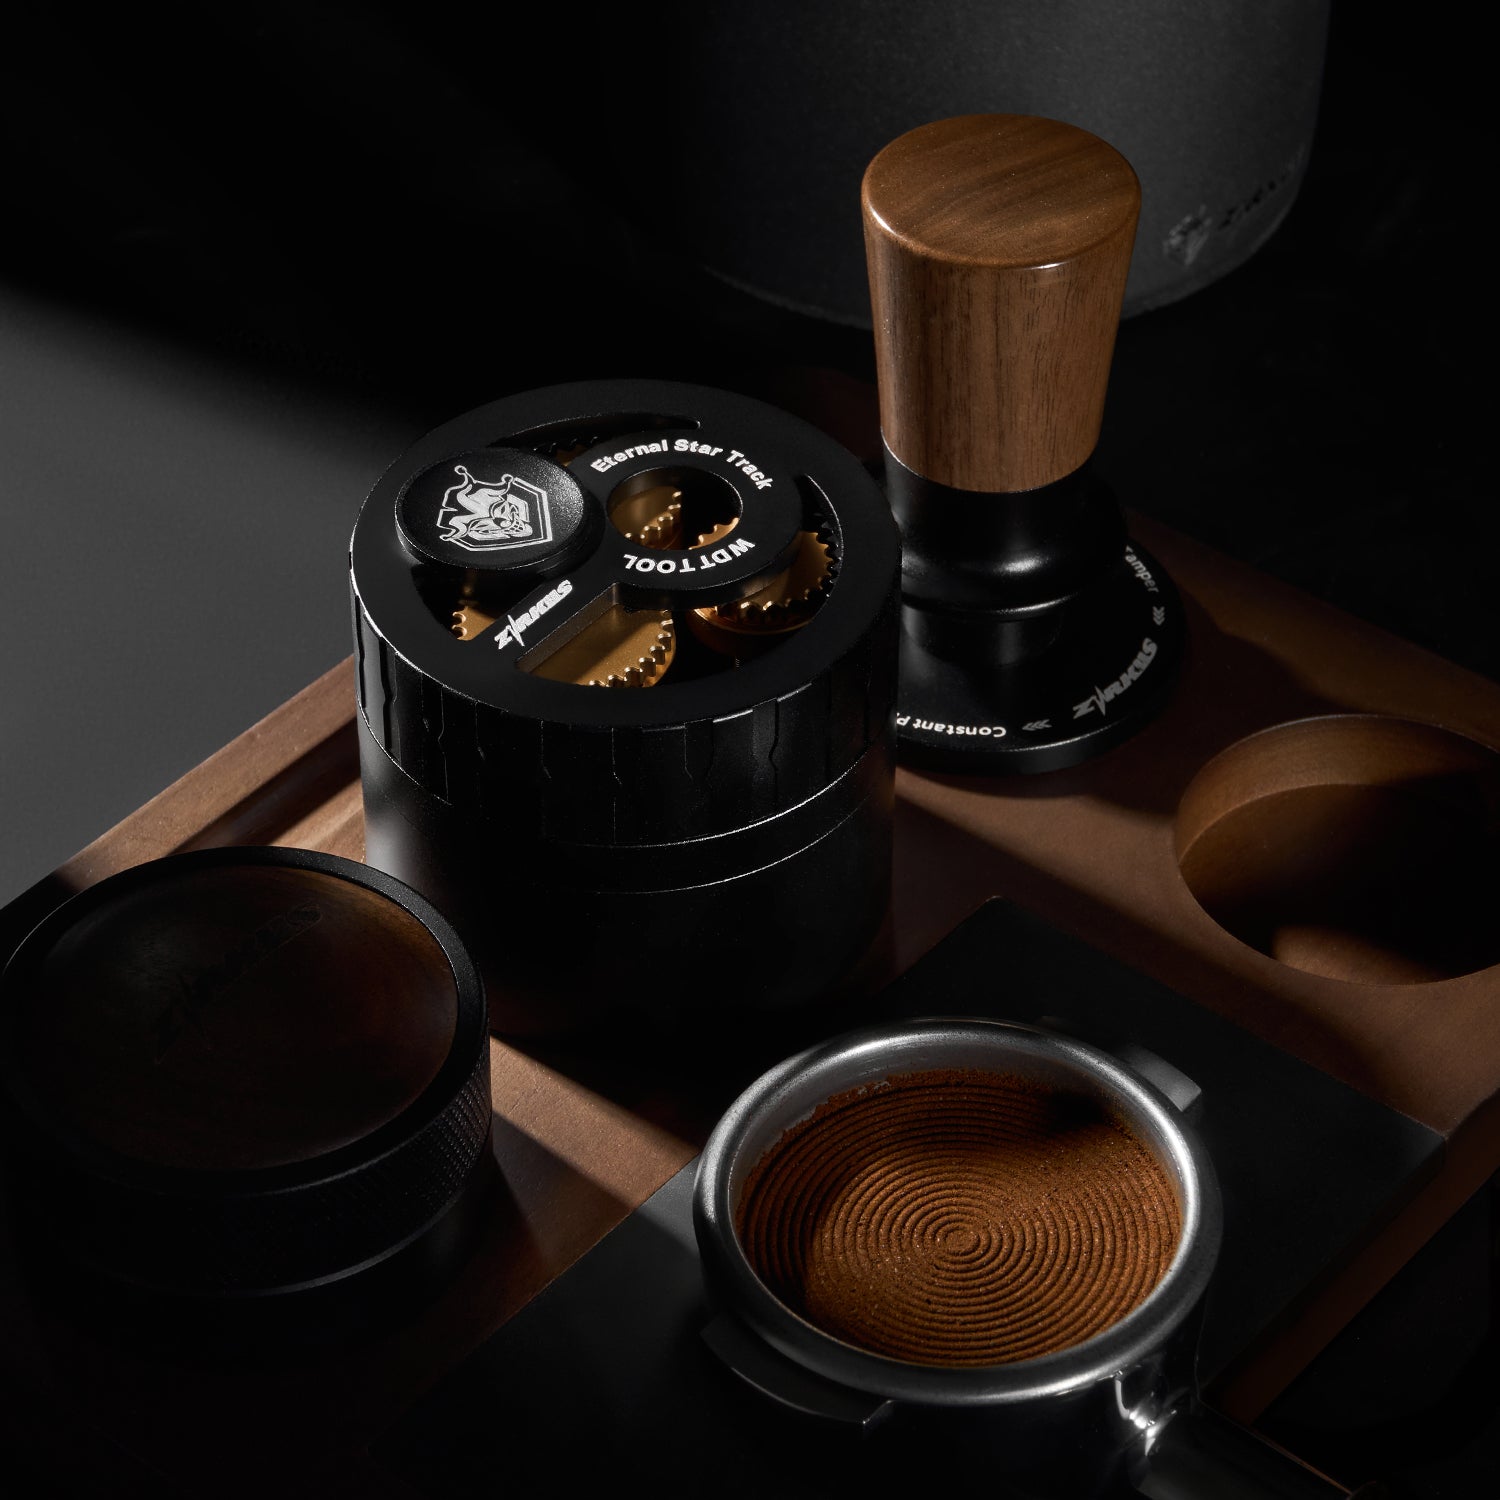
How to Pick the Best WDT Tool for Home Use
When choosing a WDT espresso tool, focus on these key details:
- Food-grade stainless steel thin needles
- Ergonomic non-slip handle for easy gripping
- Needle count between 6–8 for perfect coverage
- Optional matching stand for tidy countertop storage
A well-made WDT tool is durable, easy to clean, and will last years with basic care.
FAQs
Q1: Do I really need a WDT tool for espresso as a beginner?
Q2: Is a manual or electric WDT tool better for beginners?
Q3: How often should I clean my WDT tool?
Q4: Can a WDT tool replace a tamper or distribution tool?
Q5: Will a WDT tool make my espresso taste better immediately?
Final Thoughts
You don’t need complicated, expensive gear to make great espresso at home. Sometimes the smallest accessory makes the biggest difference.
A WDT tool is simple to use, budget-friendly, and instantly fixes one of the biggest hidden reasons for bad espresso: uneven ground distribution and clumping. For any home barista beginner, learning to use a WDT tool is one of the easiest upgrades to level up your daily coffee routine.
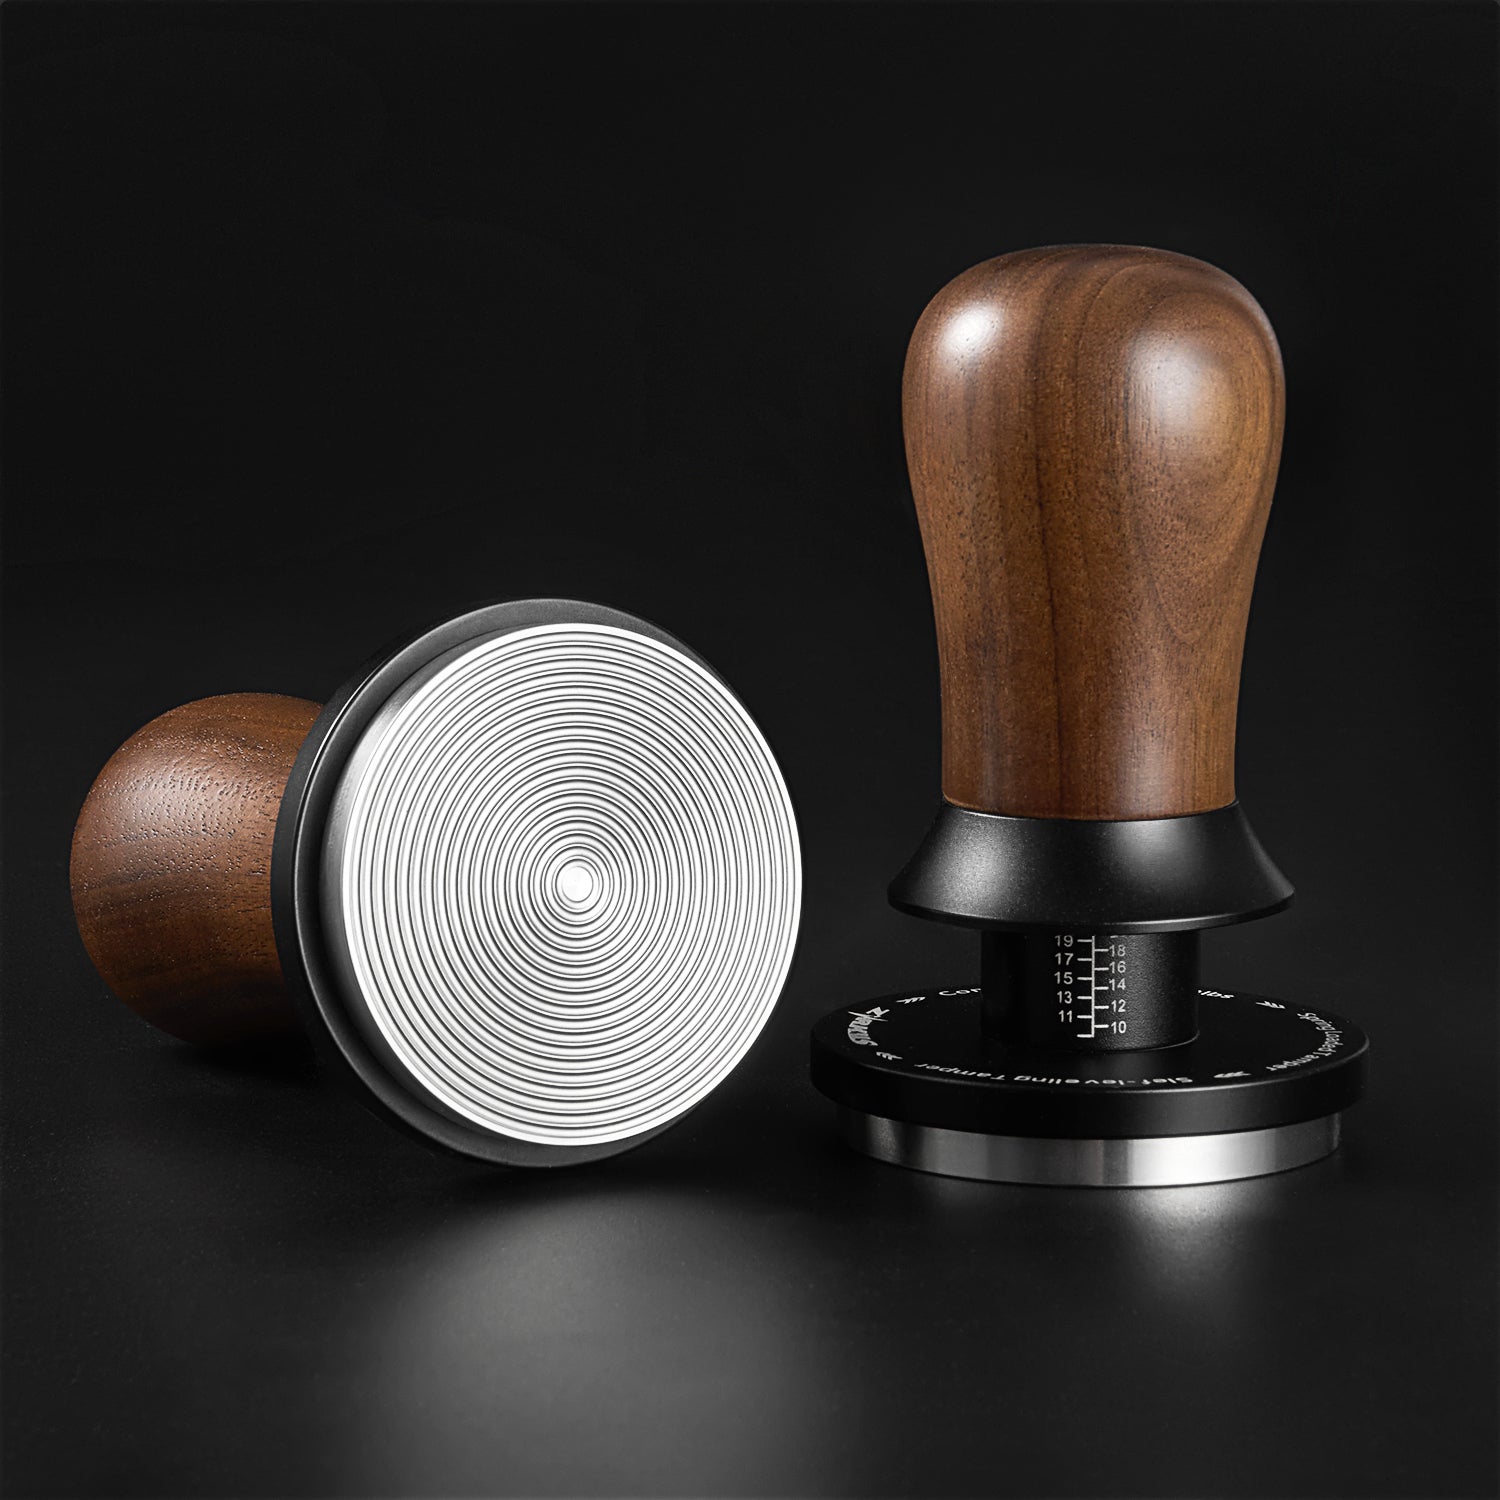
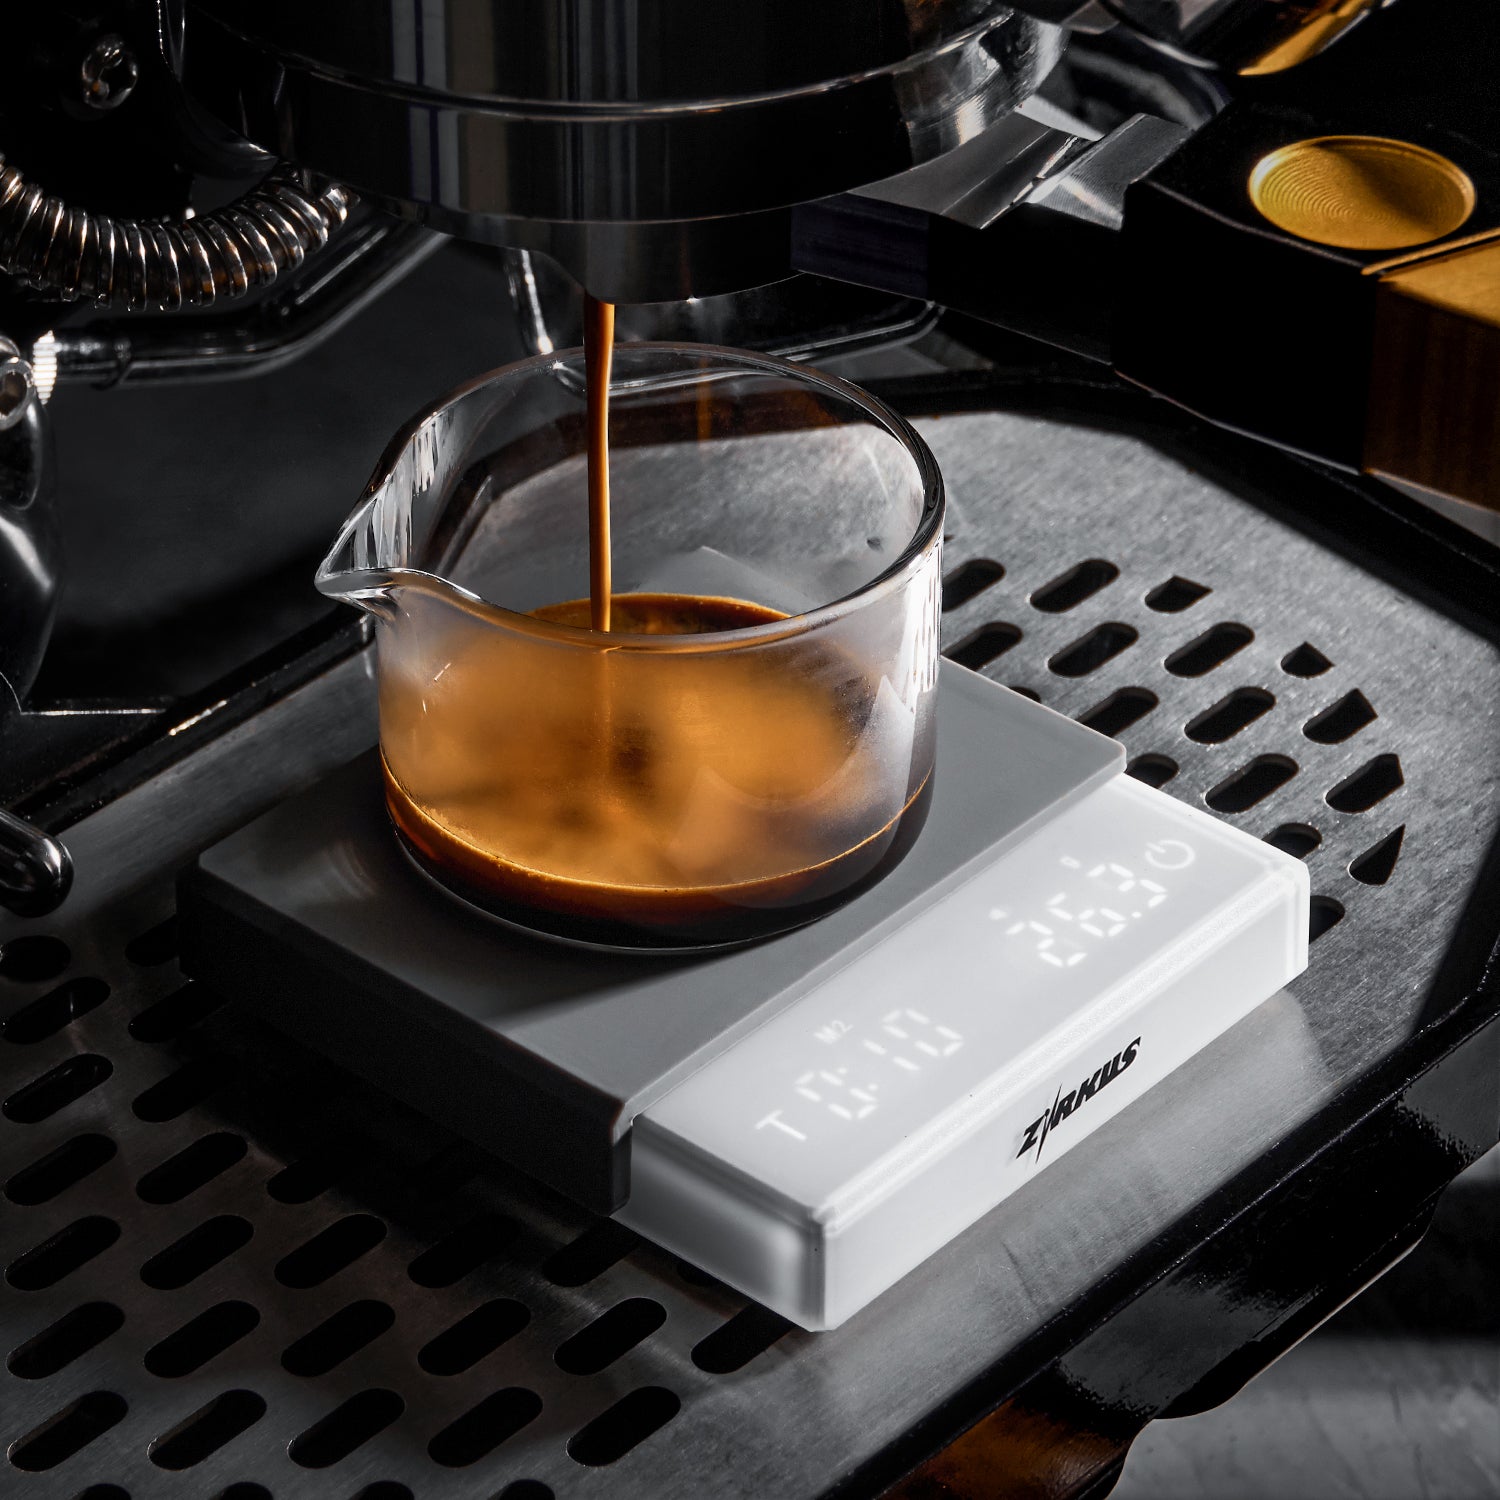
Shop our premium Zirkus WDT Tool designed specifically for home espresso lovers to enjoy consistent, cafe-quality shots every single day.


Written by ZirkusTeam
Leave a comment
This site is protected by hCaptcha and the hCaptcha Privacy Policy and Terms of Service apply.