
How to Tamp Espresso: A Practical Method for Even, Repeatable Shots
Tamping is one of the simplest steps in espresso preparation, but it has a major effect on how evenly water moves through the coffee bed. A good tamp helps create a flat, firm puck that supports stable extraction, while an uneven tamp can lead to channeling, fast flow, and inconsistent flavor. In this guide, we will break down the practical method for tamping espresso, including hand position, pressure, leveling, and common mistakes, so you can build a more repeatable routine shot after shot.
How to tamp espresso correctly in simple terms
Tamping espresso is the act of compressing ground coffee into a flat, firm puck inside the portafilter basket. The goal is not to show strength. The goal is to create even resistance so hot water can move through the coffee bed consistently.
Think of the coffee bed like a small road system. If one area is loose and another area is tightly packed, water will choose the easiest path. That shortcut can cause channeling, where water rushes through weak spots instead of extracting flavor evenly from the whole puck. A good tamp helps reduce that risk by turning loose grounds into a compact, level surface.
A proper espresso tamp should achieve three things. First, the puck should be flat from edge to edge. Second, the coffee should feel firmly compressed, not fluffy or uneven. Third, the tamping motion should be repeatable, so your next shot starts from the same foundation.
Level tamping matters more than excessive force. Once the coffee bed is fully compressed, pressing harder usually does not make the puck meaningfully better. It often just adds strain to your wrist and shoulder. The better question is not “How hard can I tamp?” It is “Can I tamp level, firm, and the same way every time?”
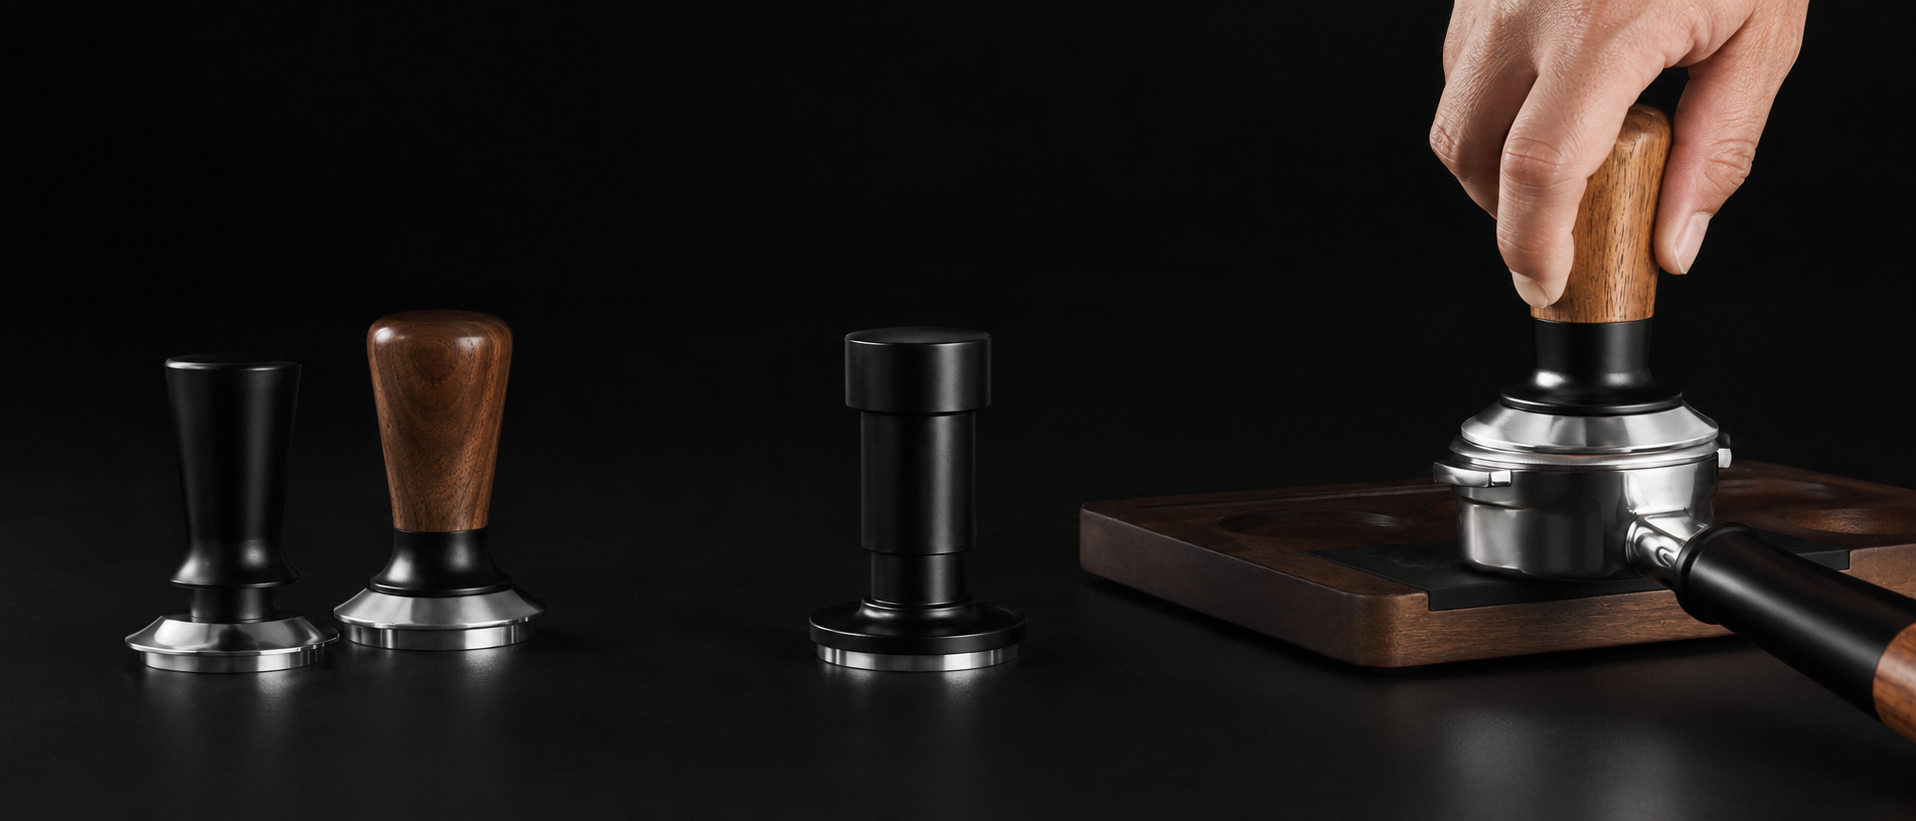
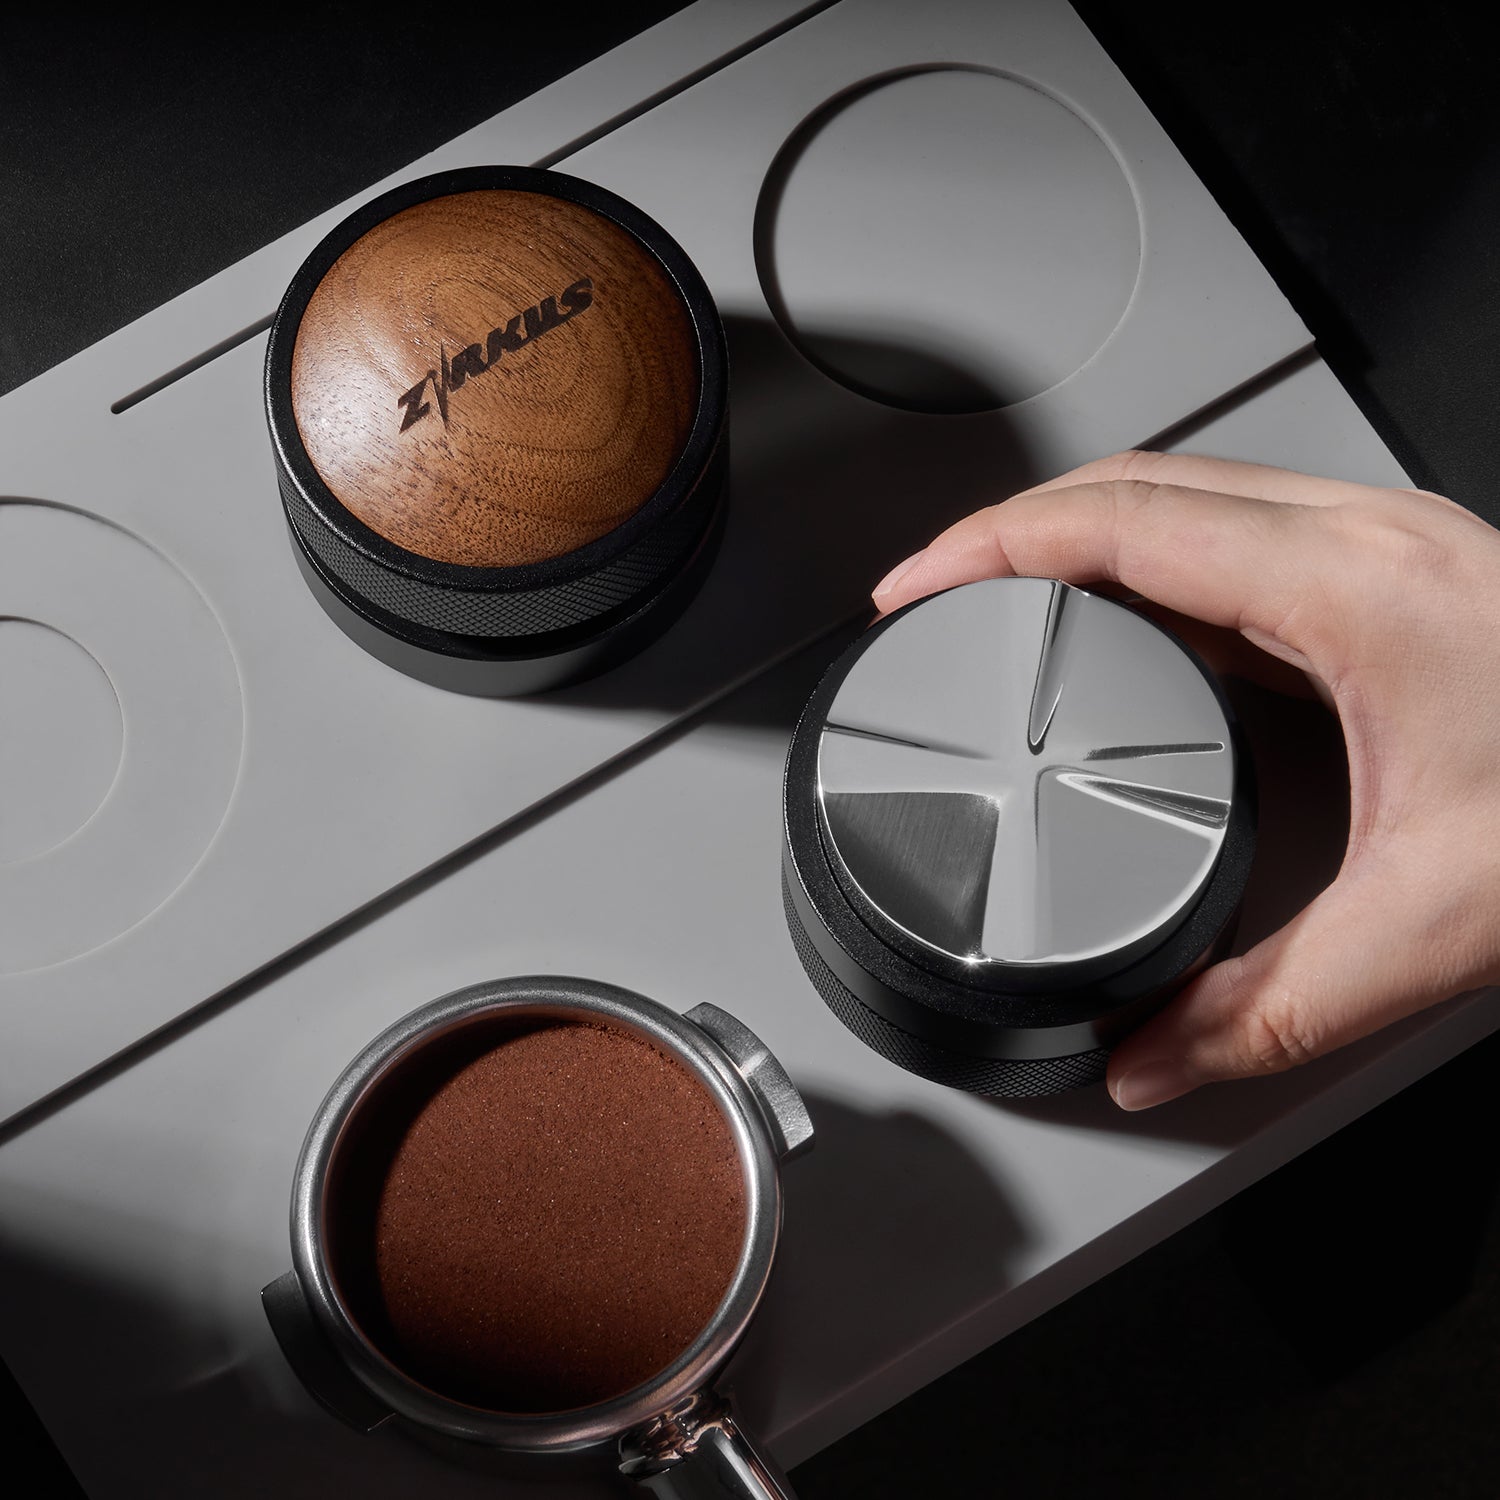
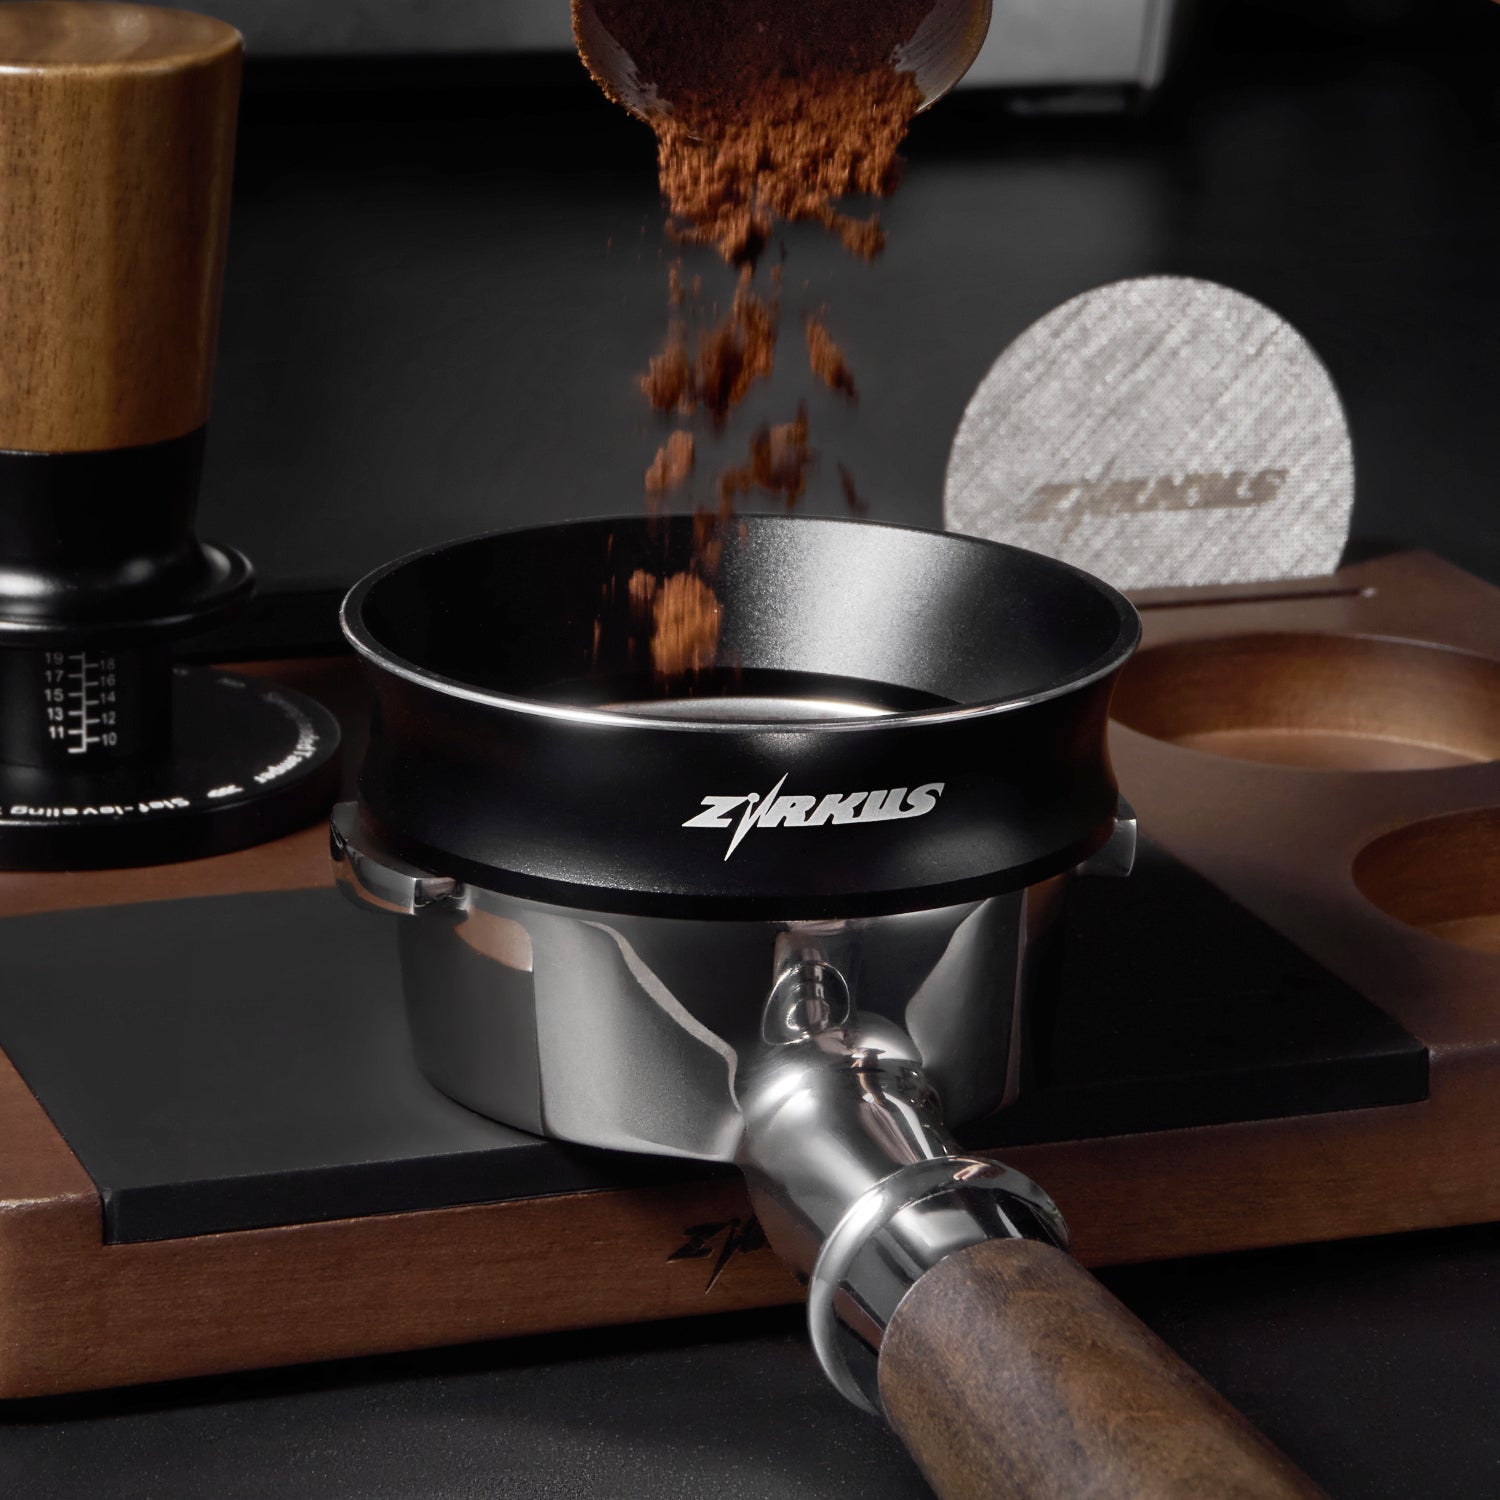
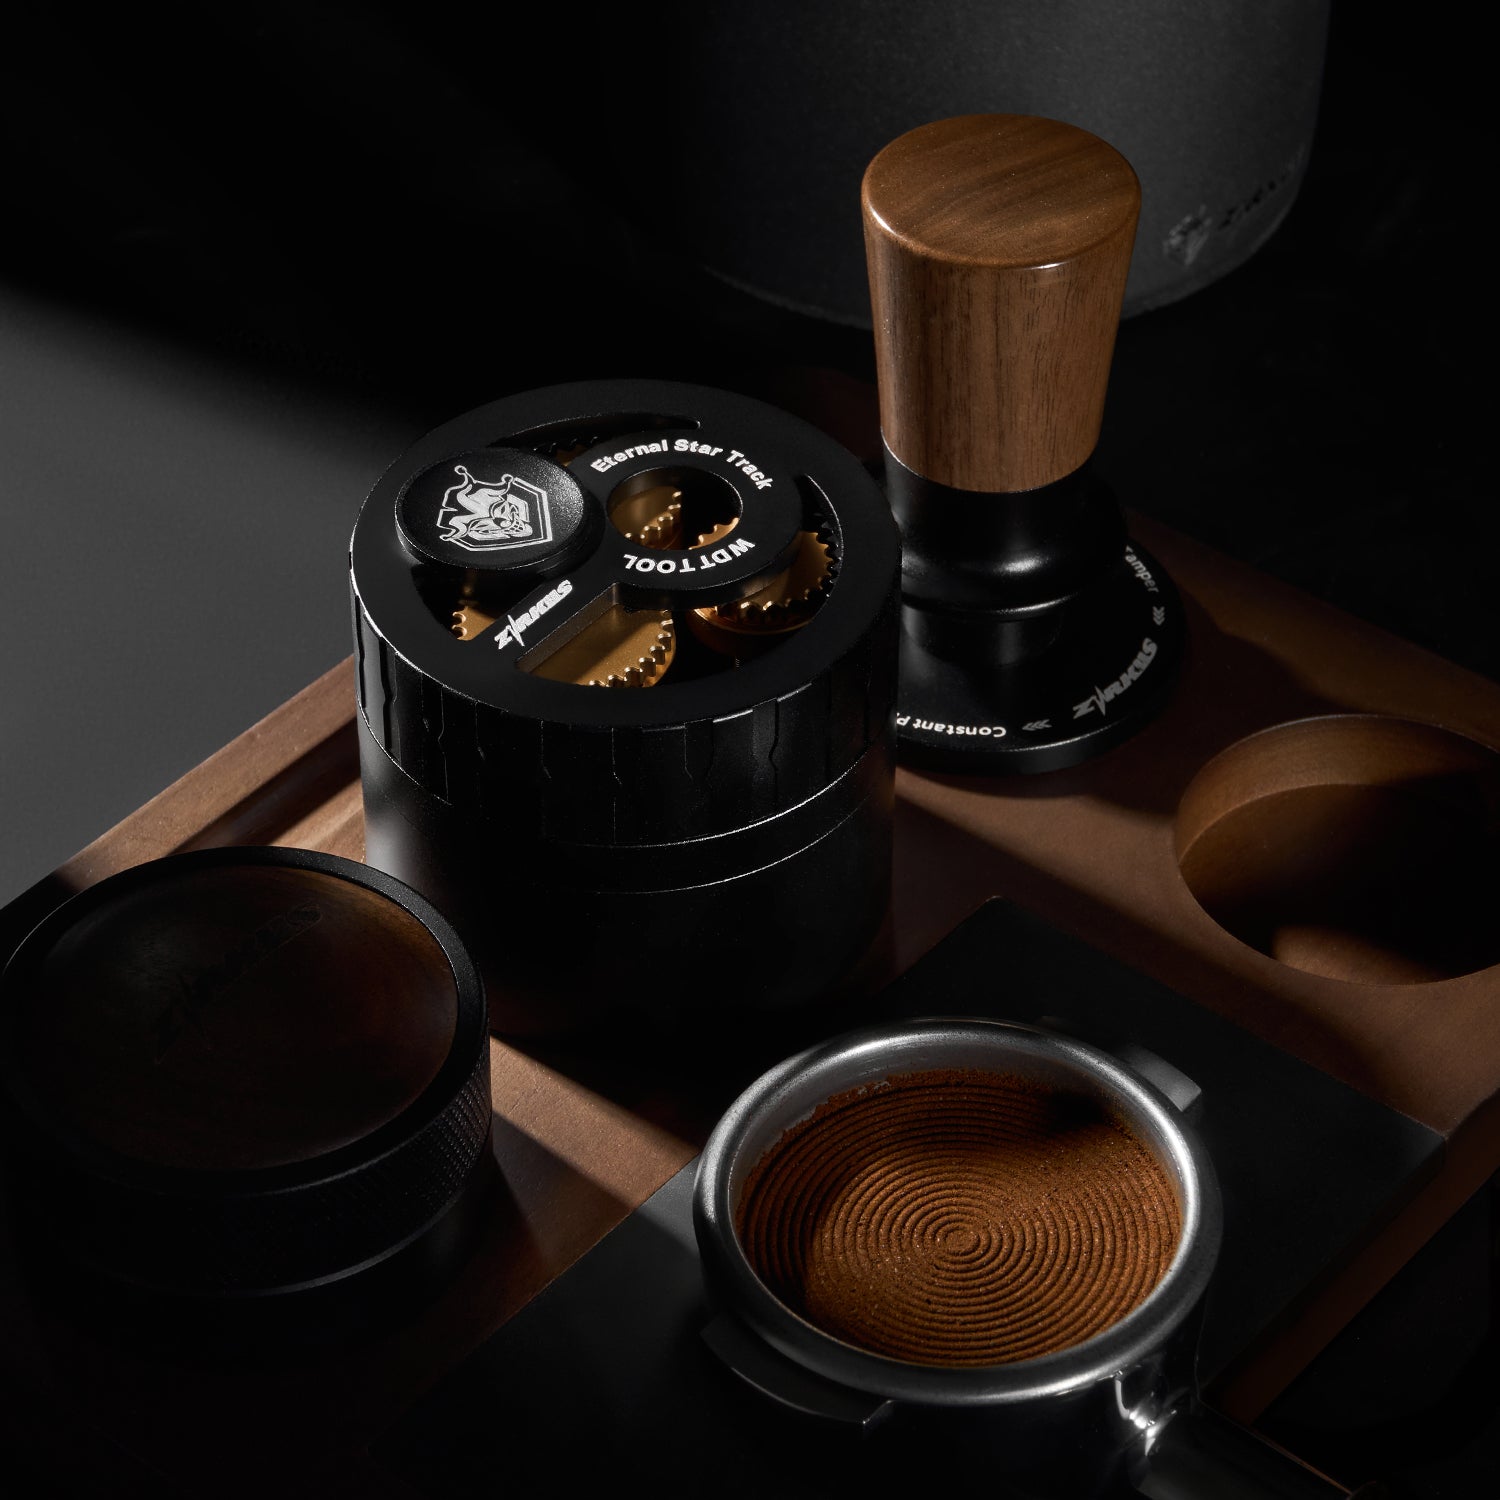
At Zirkus Coffee, we design espresso tools with this practical standard in mind. A good tamper, tamping mat, or tamping station should help you repeat the same clean motion, whether you are making one morning espresso at home or preparing drinks throughout a busy café shift.
How to tamp espresso step by step
-
Place the portafilter on a stable surface.
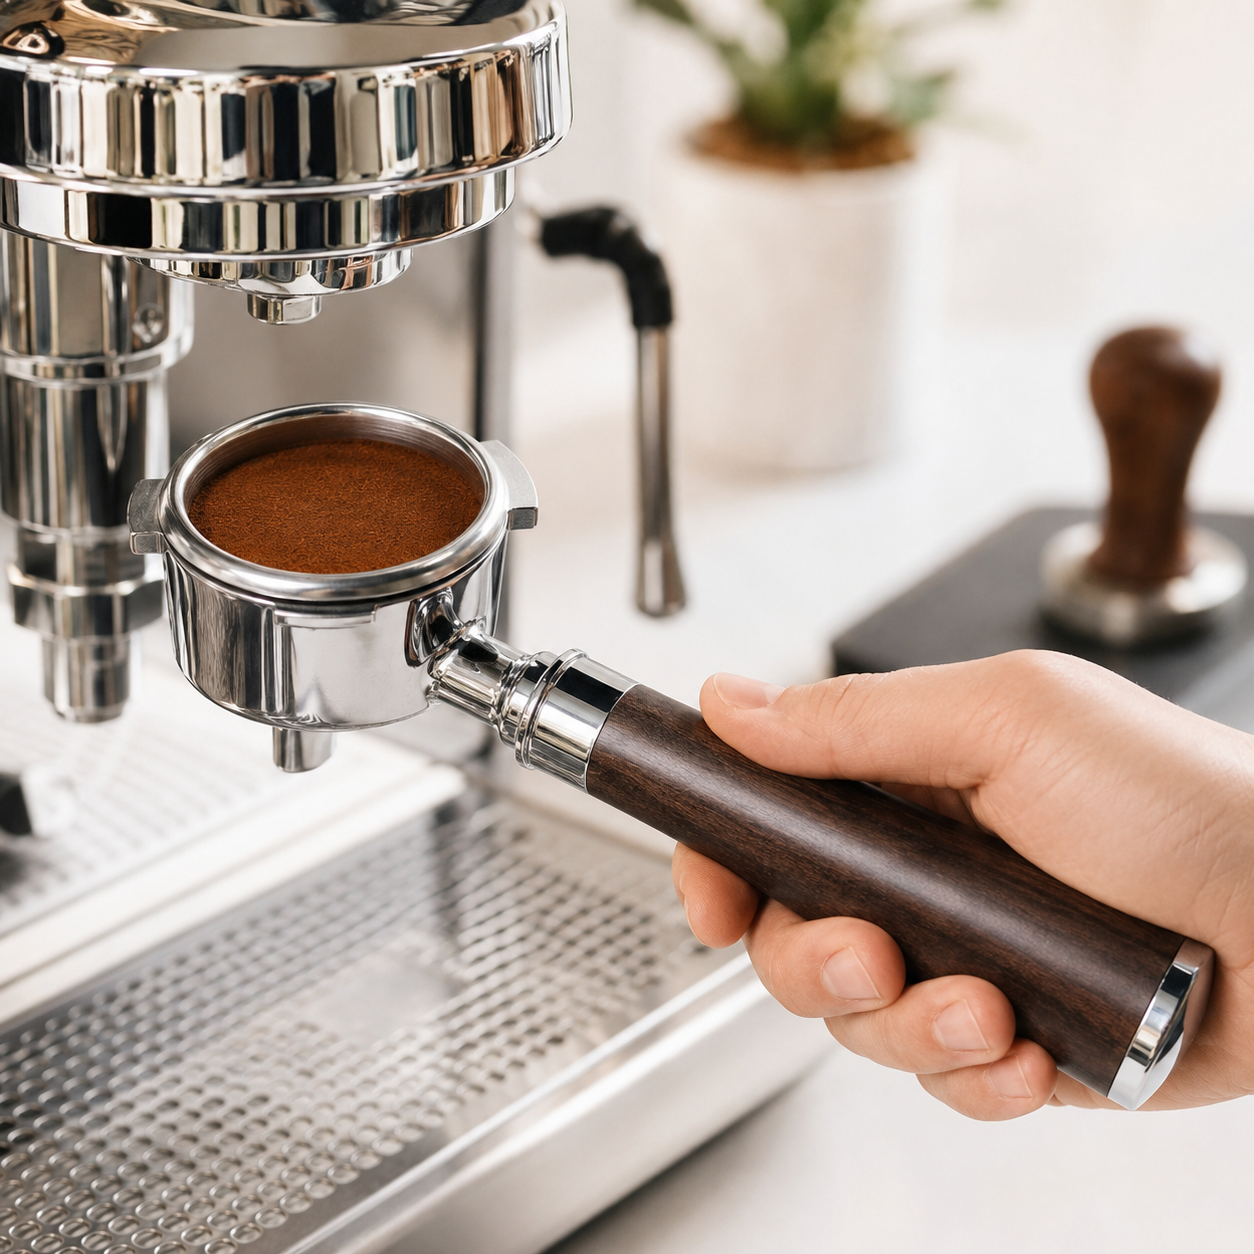
Set the portafilter on a tamping mat, tamping station, or flat counter edge that supports it securely. A wobbling portafilter makes level tamping harder. -
Hold the espresso tamper with a straight wrist.
Your wrist should stay neutral, not bent upward, downward, or sideways. This protects your joints and helps you press vertically. -
Position the tamper flat on the coffee bed.
Lower the tamper into the basket until the base touches the grounds evenly. Before applying pressure, check that the tamper is parallel to the basket rim. -
Press down vertically with controlled force.
Use your body weight, shoulder, and forearm rather than squeezing from the wrist. Press straight down in one smooth motion. -
Stop when the coffee bed feels fully compressed.
You will feel the puck stop moving under the tamper. That natural resistance is your sign to stop. -
Lift the tamper straight up without twisting aggressively.
A slight polish is optional, but avoid grinding or twisting hard. Pulling the tamper up cleanly helps avoid disturbing the puck surface. -
Check that the puck surface is flat and level.
Look at the coffee bed from the side. If one edge is higher, your tamping angle needs adjustment.
How much pressure to use when tamping espresso
The famous number is 30 pounds of tamping pressure. It is a useful training reference, but it is not a magic rule. In real espresso preparation, many skilled baristas focus less on measuring exact force and more on creating a fully compressed, level puck.
A Specialty Coffee Association article reported that most surveyed baristas used about 20 to 30 pounds of tamp pressure, while others said they did not measure it and tamped until the puck felt evenly dense. That is a helpful way to think about it. The number gives beginners a starting point, but the feel and consistency matter more.
Some appliance brands recommend around 10 kilograms of downward force, which is about 22 pounds. This is close enough to the common 20 to 30 pound range to show the same practical idea: tamp firmly, evenly, and repeatably.
What happens if you tamp harder after the puck is already compressed? Usually, not much benefit. Ground coffee only compresses so far. Once the puck stops noticeably moving, more force tends to create body strain rather than better espresso.
Your goal is firm, repeatable pressure every time. If your shot runs too fast or too slow, adjust grind size, dose, or distribution before blaming tamp pressure alone.
How to know if your espresso tamp pressure is enough
You do not need a bathroom scale beside your espresso machine. Your hands and eyes can tell you a lot.
Your tamp pressure is usually enough when the puck no longer compresses noticeably. At first, the grounds move under the tamper. Then they firm up. When the tamper stops naturally against resistance, you have reached a practical compression point.
The surface should look smooth and compact. It should not appear fluffy, cracked, or visibly loose. The tamper should leave a clean, even impression across the coffee bed.
The best sign appears over time: your shots become more repeatable. If you use the same dose, same basket, same grind setting, and same tamping motion, your espresso should behave more consistently. You may see steadier flow, less spraying from a bottomless portafilter, and fewer shots that suddenly run too fast.
Pressure is enough when it supports consistency. It is not enough if the puck stays soft, uneven, or visibly loose after tamping.

How to tamp espresso level without tilting the puck
A tilted tamp is one of the easiest mistakes to make and one of the most frustrating to diagnose. The puck may look almost fine from above, but one side is compressed lower than the other. During extraction, water can favor the thinner or weaker side, creating uneven flow.
To tamp level, start by making the tamper parallel to the basket before you press. Do not begin pressing while the tamper is still rocking or angled. Let the tamper sit flat on the coffee bed first.
Your wrist angle matters. If your wrist bends, the tamper base often tilts with it. Keep your wrist straight and stack your hand, wrist, elbow, and shoulder in one vertical line. Your elbow should sit above the tamper, not drifting far to the side.
A stable tamping mat or tamping station also helps. If the portafilter moves while you press, your body naturally compensates, and that can create tilt. A station holds the portafilter more securely, especially when you are working with bottomless portafilters or heavier commercial handles.
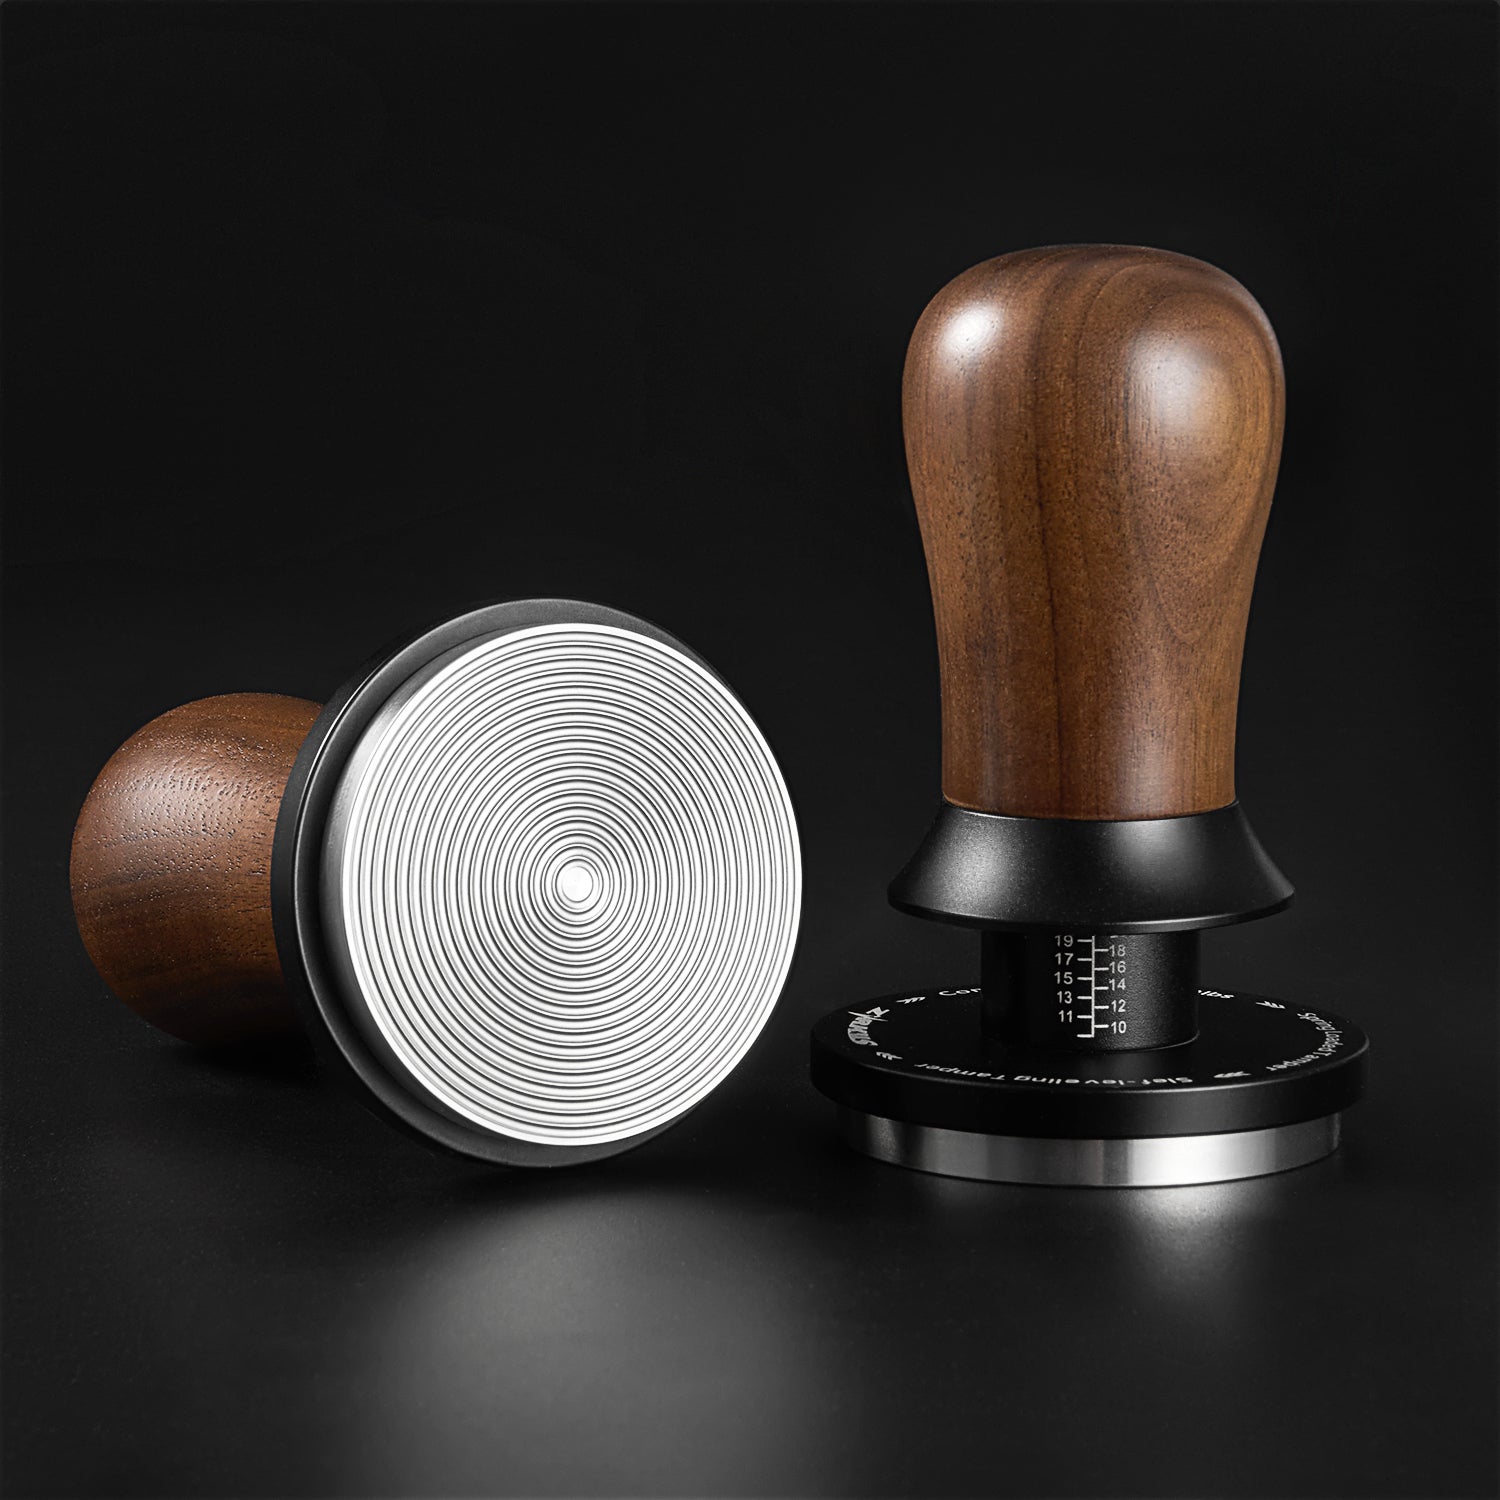
Level tamping is a small habit, but it has a large effect. You are not just pressing coffee. You are building the starting structure for extraction. If you are a novice home barista who doesn't want to spend extra time and effort, you can choose to use a self-leveling tamper, which is equipped with an automatic leveling function.
How to check if your espresso tamp is level
The simplest check is visual. After tamping, hold the portafilter at eye level and look across the puck from the side. Compare the left and right edges. If one side sits higher, your tamp was angled.
You can also inspect the ring around the inside of the basket. A level tamp usually leaves a consistent edge. If the coffee bed slopes toward one side, you will see it.
Shot behavior gives another clue. Early blonding on one side, spurting from a bottomless portafilter, or uneven streams can indicate channeling. Tamping is not the only cause, but an angled tamp is a common contributor.
Tamper fit matters too. A tamper that is too small leaves a loose ring of coffee around the basket wall. That edge can become a weak path for water. Choose a tamper size that fits your basket properly, with enough clearance to move smoothly but not so much that it leaves wide untouched edges.
How to hold the tamper when tamping espresso
Hold the tamper like a door knob, not like a hammer. Your palm should rest comfortably over the handle, with your fingers wrapping around it in a relaxed grip. The tamper should feel controlled, not clenched.
Keep your wrist straight. This is the most important body mechanics rule in tamping. A bent wrist makes it harder to press vertically and can create discomfort over time.
Keep your elbow above the tamper. When your elbow is aligned over the portafilter, your body weight travels downward more naturally. If your elbow is far outside the line of the basket, you will push at an angle.
Use body weight rather than wrist force. Lean gently into the tamp with your shoulder and upper body. This creates smoother pressure and reduces strain. For home baristas, this also makes tamping feel easier and more repeatable.

Good tamping technique should feel stable and boring. That is a compliment. The less drama in the motion, the more consistent the puck.
How to tamp espresso without damaging your wrist
Tamping can become repetitive, especially in a café or office setting. Poor form may not hurt on the first shot, but it can become a problem over hundreds of repetitions.
Avoid pressing with a bent wrist. A bent wrist concentrates force in the joint instead of letting your arm and shoulder share the work. Keep the forearm vertical and your wrist neutral.
If your counter is too high, you may end up lifting your shoulder or bending your wrist. If it is too low, you may lean awkwardly. A tamping station can help create a more stable and ergonomic setup.

Do not over-tamp repeatedly. Press once with control. If you tamp, lift, tamp again, twist hard, then press again, you increase the chance of disturbing the puck and tiring your hand. One clean tamp is usually better than several uncertain ones.
For baristas who pull many shots a day, a comfortable tamper handle is not a luxury. It is part of good workflow. The tool should fit your hand, match your basket size, and allow a straight downward press.
How to tamp espresso after distributing the grounds
Tamping should happen after the grounds are evenly spread. It should not be used to fix a badly uneven coffee bed. If one side of the basket has more coffee than the other, tamping will simply compress that unevenness into the puck.
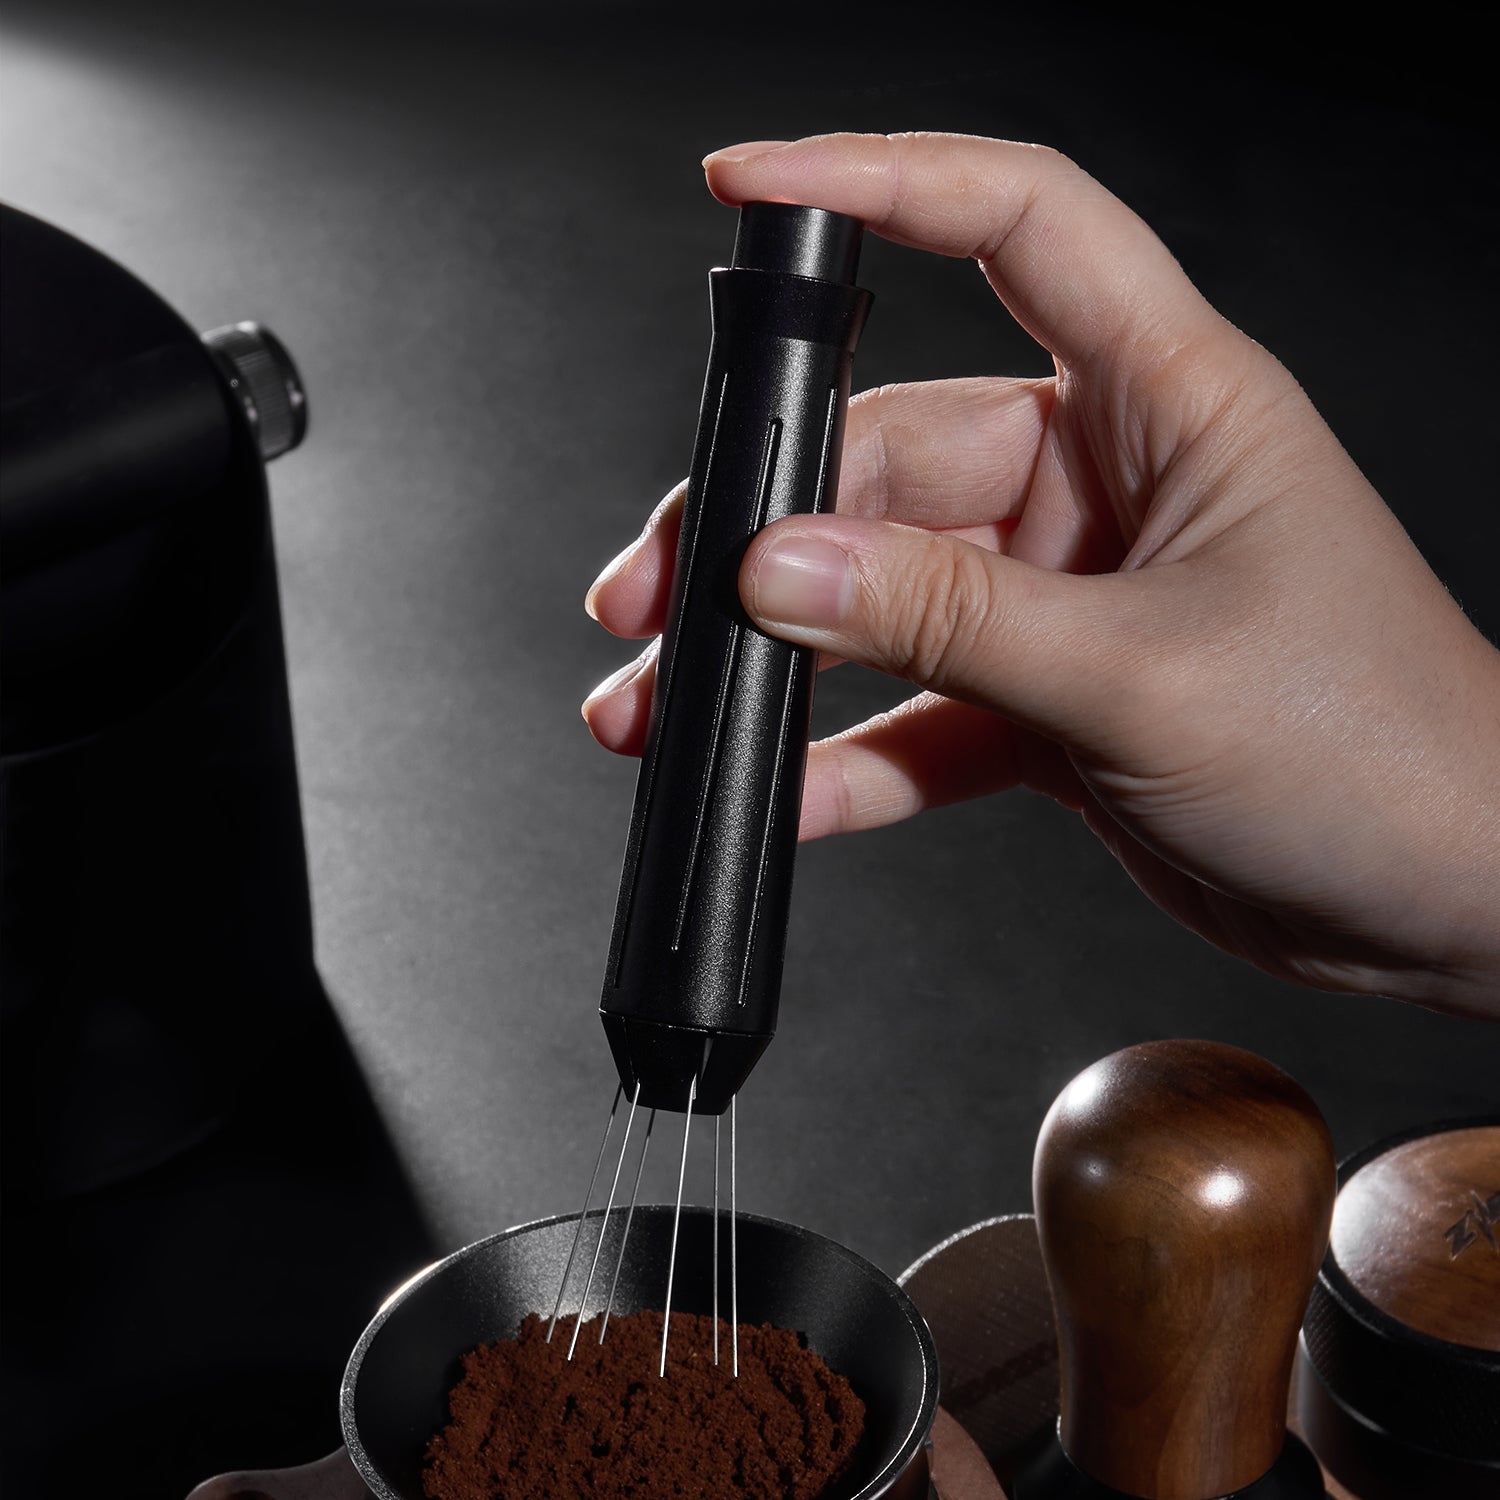
Before tamping, lightly settle and level the grounds. You can tap the portafilter gently or use a distribution tool if it fits your workflow. The goal is to make the surface reasonably even before the tamper touches it.
Once the grounds are distributed, tamp once with control. Do not repeatedly press to “correct” the puck. Repeated tamping can create cracks, disturb the bed, or make your routine less consistent.
The clean sequence is simple: dose, distribute, tamp, check. Each step has its own job. Distribution evens out the loose coffee. Tamping compresses it into a stable puck. When those jobs are separated, espresso prep becomes easier to repeat.
Common mistakes when tamping espresso
Tamping at an angle is the most common mistake. It creates a sloped puck and can encourage uneven flow.
Pressing too lightly and inconsistently is another issue. If the puck stays loose, water can move through weak spots too quickly.
Over-focusing on maximum pressure can also hurt your results. A harder tamp is not automatically a better tamp. Once the puck is compressed, repeatability matters more.
Twisting the tamper too aggressively can disturb the coffee bed. A light polish is optional, but heavy twisting is unnecessary.
Tamping on an unstable surface makes everything harder. If the portafilter wobbles, your tamp will often tilt.
Using a tamper that does not fit the basket well can leave loose edges. The right tamper should match your basket diameter closely while still moving smoothly.
How to tell if tamping espresso improved your shot
Better tamping shows up in the cup and in the flow.
You may see more even flow from the portafilter. With a bottomless portafilter, the espresso may gather more smoothly instead of spraying from several weak points.
You may see less channeling. That means fewer sudden spurts, fewer pale streaks, and fewer fast weak shots caused by uneven water paths.
Shot times may become more consistent. Tamping alone will not solve every espresso variable, but a level, repeatable puck gives you a better baseline for adjusting grind and dose.
The taste may also become more balanced. Uneven flow can lead to sour, thin, or harsh flavors because some coffee is under-extracted while other areas are overworked. A better tamp helps the puck behave more like one unified coffee bed.
In the end, tamping is not about force. It is about control. A flat, firm, evenly compressed puck gives the water a fair path through the coffee, and that gives you a better chance of pulling the same satisfying espresso again and again.
FAQs
Q1: Do you need exactly 30 pounds to tamp espresso?
No. Thirty pounds is a useful reference point, but you do not need to hit that number exactly. Consistent pressure and a level puck matter more than chasing a perfect measurement. Once the coffee bed feels fully compressed, focus on repeating the same motion.
Q2: Can you tamp espresso too hard?
Yes, in the practical sense. After the puck is fully compressed, extra force usually adds strain rather than meaningful improvement. If your shot is running too slowly, look at grind size, dose, and puck prep instead of simply tamping harder.
Q3: Should you twist the tamper after tamping espresso?
A light polish is optional, but aggressive twisting is not recommended. Hard twisting can disturb the coffee bed or create small cracks. If you twist, keep it gentle and do not use it as a substitute for a level tamp.
Q4: Why does my espresso tamp look uneven?
An uneven tamp usually comes from uneven grounds, a tilted wrist, unstable portafilter support, or a tamper that does not fit the basket well. Start by leveling the grounds before tamping, then check your wrist and elbow alignment.
Q5: What is the best way to practice tamping espresso?
Use the same dose, basket, and tamper, then repeat the same vertical motion every time. Check the puck from the side after each tamp. The goal is to build muscle memory so a flat, level puck becomes automatic.

Written by ZirkusTeam


Leave a comment
This site is protected by hCaptcha and the hCaptcha Privacy Policy and Terms of Service apply.